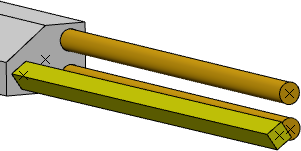
Create an Arrangement
The Arrange Junction Assistant allows you to add, define, and arrange secondary branches at a branch extremity.
-
From the Branch section of the action bar, click
Arrange Junction Assistant
 .
.
-
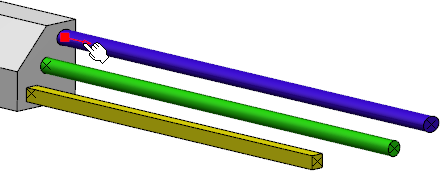
In the 3D area, hover over a primary branch to display a segment extremity, and then click the segment.
The segment extremity is symbolized by a red arrow.
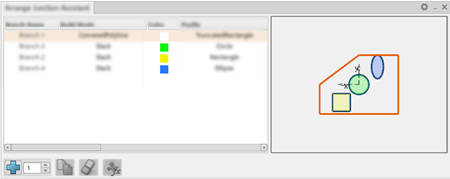
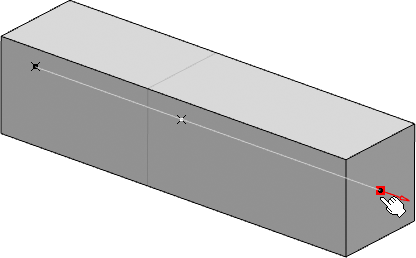 The Arrange Junction Assistant panel appears.
 -
From the panel, click the Preferences button
 to define your options.
For more information, see Preferences.
-
In the table, double-click a cell to define the attributes of the BranchTemplate.
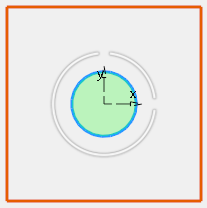
A preview of the branch appears in the 3D area and in the viewer.
3D area Viewer 
-
Select the number of branches to add to the junction, and then click the Add button
 .
The branches are added according to the attributes you set and the options you defined. The preview is updated accordingly.
.
The branches are added according to the attributes you set and the options you defined. The preview is updated accordingly.In our example, one branch with a circular profile, colored in green, and positioned at the center of the primary branch is added.
3D area Viewer 
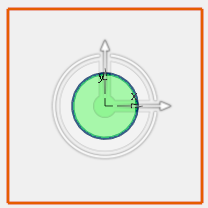
Tip: To position the added branches according to a business logic, see Arrange a Junction Automatically. - Add and define additional branches:
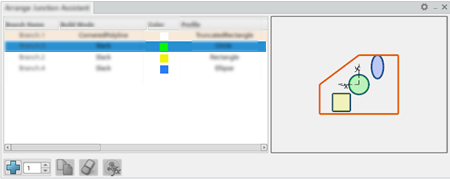
- Select a secondary branch in the table.
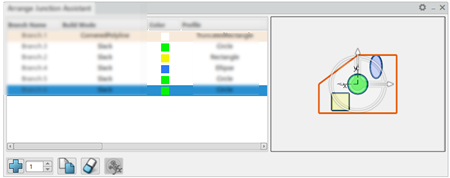
- Select a number of branches to add, and then click the Add button
 .The added branches retrieve the attributes of the selected branch.
 - Optional: In the table, edit the attributes of the added branches.
In our example, an additional branch with a rectangular profile, colored in orange, and positioned at the center of the primary branch is added.
3D area Viewer 

Tips: - You can copy the attributes of a secondary branch to another secondary branch. To do so, select a first branch, click the Copy button
 , and then select a second branch in the table.
 - Multiselection is allowed in the table. To edit the same attribute for several branches in a row, select the branches and press Ctrl while double-clicking the attribute.
-
Define the junction arrangement:
- To edit the position of a secondary branch, click its profile in the viewer, and then drag the Robot to modify the offset.
You can also select the secondary branch in the table, and then drag the Robot in the viewer or in the 3D area.

- To rotate a branch, click its profile in the viewer, and then rotate the Robot.
You can also select the secondary branch in the table, and then rotate the Robot in the viewer or in the 3D area.
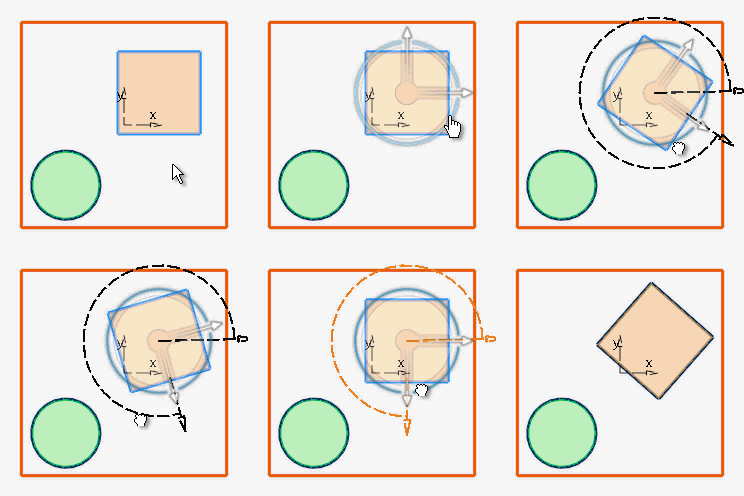
Tip: The multiselection is allowed in the viewer. When you edit the arrangement in the viewer, the junction is updated in the 3D area.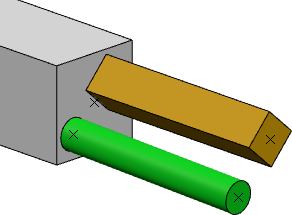
- To edit the position of a secondary branch, click its profile in the viewer, and then drag the Robot to modify the offset.
- To validate your arrangement, close the panel.
