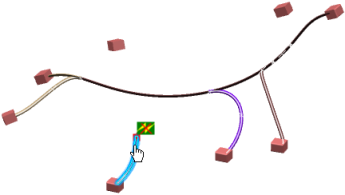
- In the Electrical 3D Design app, from the Branch section of the action bar, click Connect Segments
 . . - Select the end of the secondary branch that is not connected, having this symbol
 . . - Press the Shift key and move the pointer over the primary branch and click to validate.
- Double-click the secondary branch.
The Branch Definition dialog box appears. - Click Route Definition.
The Route Definition dialog box appears with the name of the proxy branch point selected (Proxy Branch Point.3). 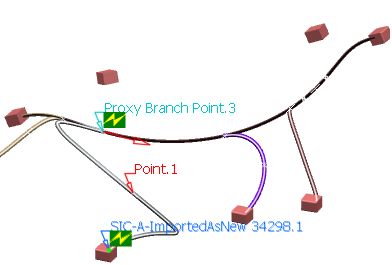 - Click OK.
- Click OK in the Branch Definition dialog box.
- Select the primary branch and note that it has not been modified.
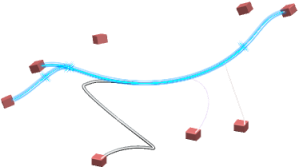 The primary and secondary branches are linked with each other. - In the Electrical 3D Design app, from the standard area of the action bar, click Link Review
 to check electrical connections. to check electrical connections.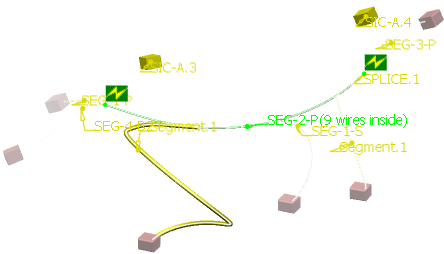 Primary and secondary branches are linked together.
|