Modify a Symbol Position
You can modify a symbol position through a translation.
-
From the
Layout section of the action bar, click
Manipulate Symbols
 .
The App Options panel appears.Note: The mode selected to modify the symbol position remains active when selecting Manipulate Symbols again.
 -
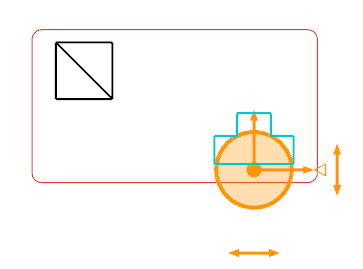
Select the symbol to be moved.
Note: You can select Intersecting Rectangle Selection Trap to move several symbols.The Manipulation Options Chooser dialog box appears. The handle appears and the selected symbol is highlighted.

-
Select
Transform to apply the modifications to the
selected object.
Note: You can copy the symbol and apply the modifications on the new symbol. For more information, see Reversing and Mirroring Symbols.
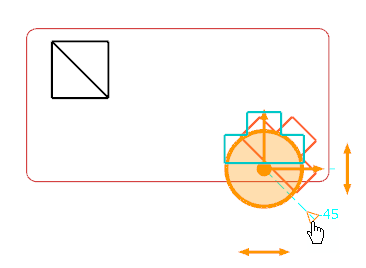
- To modify the center of the rotation, drag the middle point of the compass to the desired location.
-
Select and hold one of the following parts of the handle according to
the desired type of translation:
- The face to do a free translation of the symbol
- The vertical hand to do a vertical translation of the symbol
- The horizontal hand to do a horizontal translation of the symbol
- Drag the handle to the convenient place.
-
Optional: To define the x-axis and y-axis
values, select the X or Y coordinates in the 2D graph and complete the
Translation dialog box:
- X: Enter the x-axis coordinate of the symbol.
- Y: Enter the y-axis coordinate of the symbol.
- Step: Enter the translation step.
Note: If Snapping is activated, the step value cannot be
modified. By default, the step is set to 1.
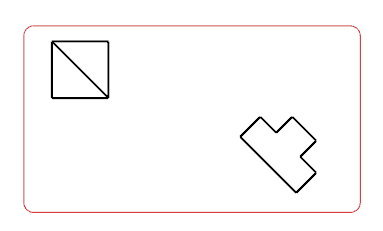
 - Click OK to validate the new position of the symbol.

