- In the Symbol Design
app, draw a rectangle representing your squaring area.
-
From the Symbol Edition section of the action bar, select Manage Frame Location
 . .
- In the Manage Frame Location dialog box, click Select a Squaring Area, and then select the rectangle in the diagram view.
-
Select the position of the frame origin in the Frame Origin Position box.
-
Define the cells' step value for the horizontal sides of your squaring area.
- Select Value (mm) to define the step value in millimeter and type the desired value in the box.
- Select Value (sheet subdivisions) to define the step value in subdivisions and type the desired number of subdivisions in the box.
-
In the First horizontal step label
box, type the label of the first horizontal cell.
Note:
The label can be a letter or a number. The labels of the next cells follow the alphabetical/numerical order according to the label of the first horizontal cell.
-
Select the cells' step value for the vertical sides of your squaring area.
- Select Value (mm) to define the step value in millimeter and type the desired value in the box.
- Select Value (sheet subdivisions) to define the step value in subdivisions and type the desired number of subdivisions in the box.
-
In the First vertical step label
box, type the label of the first vertical cell.
Note:
The label can be a letter or a number. The labels of the next cells follow the alphabetical/numerical order according to the label of the first vertical cell.
- Click OK to validate the creation of your frame symbol.
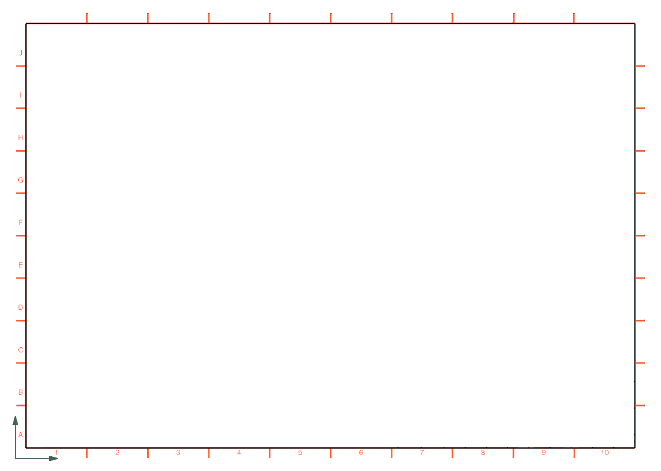
- Click Display Ghost Frame
 . .Note:
To deactivate the command, click Display Ghost Frame  again. again.
Your frame appears in orange in your diagram. Note:
The ghost frame is only a graphic element to help you create your frame.
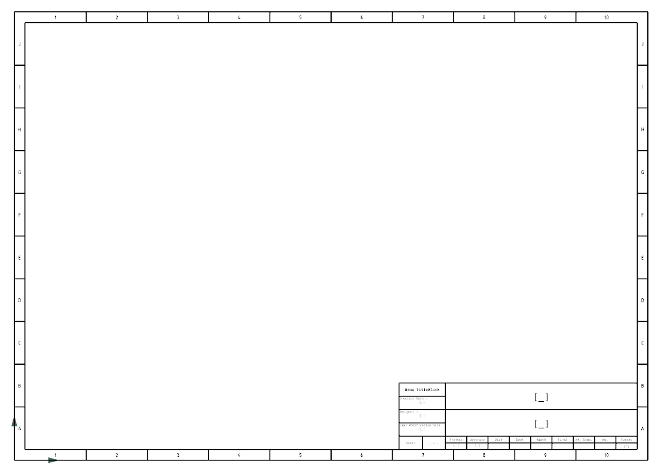
 - Draw your titleblock.
- Create text templates in your titleblock. For more information about the creation of text templates, see Drafting User's Guide: Managing Text and Table Templates: Working with Text and Table Templates.

Note:
You can only create text templates on logical references, sheets, sheets instances and layouts.
- Optional: Draw the outer border of your frame.

- Save your representation.
|

 .
.
 .Note: To deactivate the command, click Display Ghost Frame
 again.Your frame appears in orange in your diagram.Note: The ghost frame is only a graphic element to help you create your frame.
 Note: You can only create text templates on logical references, sheets, sheets instances and layouts.