Adding Feature Modifiers (Cut)
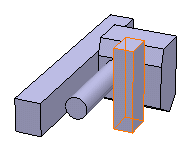
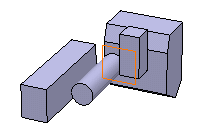
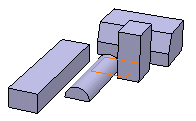
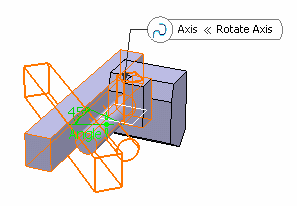
In this task, you will add three feature modifiers, more precisely three cut features.
-
From the
Transform section of the
action bar,
click
Cut
 .
The Cut dialog box appears.
 -
Select the feature you want to cut.

- Select the plane as the Cutting element.
-
Click
OK.

-
Right-click the feature, in our example
Shellable Prism.1 and select the
Parents/Children... .
The Parents and Children dialog box that appears displays the relationship.
- Repeat steps 1 to 3 by selecting Shellable Prism.2 and Shellable Prism.3 as the features to cut and yz plane as the Cutting element.
-
Click
OK.

-
Right-click
Cut.2 and select the
Parents/Children....
The Parents and Children dialog that appears displays the relationship.
-
Repeat steps 1 and 2 by selecting Shellable
Prism.2 and
Shellable Prism.4 as the features to cut.
You will notice that when Shellable Prism.2 is selected, Cut.2 is selected instead. Also you cannot select Shellable Prism.3. This is because Cut.2 is the top of the chain and Cut.2 is already in the list of the features to cut. Consequently, Cut.2 cannot be inserted a second time.
You will notice Cut.2 has a modification overlay icon applied in the tree.
-
Select
xy plane
as the
Cutting element and Click
OK.

-
Right-click
Cut.3 and select the
Parents/Children.
The Parents and Children dialog that appears displays the relationship.
-
Right-click
Cut.2 in the
tree
and select
Deactivate.
The Deactivate dialog box proposes you to deactivate its children too.
-
Click
OK to confirm.
Cut.2 and Cut.3 are deactivated.
