Manipulating Light Sources

You can manipulate light sources along predefined circles centered on the light target.


Before you begin:
  • Open an existing 3D shape.
  • Right-click in the work area and select Ambience > Basic. Right-click again and select Style > None. You can change the background color in Me > Preferences > General > Display > Visualization tab, Colors area.
See Also
About Manipulating Light Sources
  1. From the Analysis section of the action bar, click Light Source Manipulation .
  2. Select the light source mode:
    • Attached to Viewpoint: Fixes the light source to the screen. The model can rotate independently to the light source position.
    • Attached to Model: Fixes the light source in the reference axis of the current model.

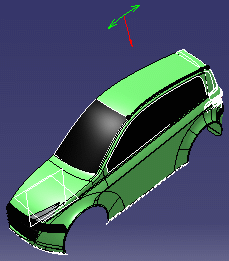
    Green handles appear in the work area.

    The red arrow represents the light direction (that is, the target.)


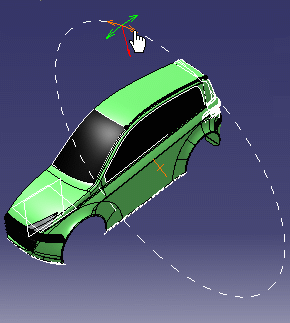
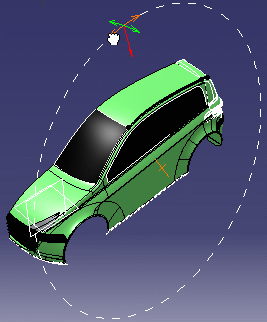
    When you point at an arrow, a dotted circle appears. If you drag your mouse along that circle, the light source is rotated along its axis.


    Now if you position your mouse over an arc, a dotted circle also appears.

  3. Use the handles to define the rotation.


  4. Drag the mouse along the circle handle to change the position of the light source origin along the selected arc.
  5. Right-click a handle and select Lock Handle.
    One handle is locked.

Tip: You can click anywhere in the work area then press the spacebar to hide the handle symbol. This is especially useful when working with big models: You can still change the light position by pointing at the hidden handle. In that case, the cursor shape changes. You are not bothered by the display of this handle on your model. To redisplay the handle, you only need to press the spacebar again.