-
From the
Create section of the
action bar,
click
Create Annotation
 . .
-
Select an object on the map.
-
In the dialog box, enter a title (mandatory) and a description
(optional), and then click
OK.
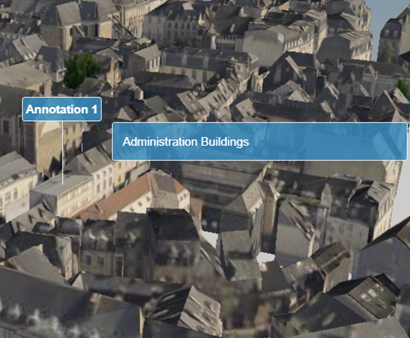
The annotation is added to your experience and a new item is added to the tree.

Annotations are always displayed over the other 3D elements.
Note:
- The annotation location cannot be modified.
- The annotation description is displayed when you click the
annotation title. Otherwise, only the title is visible.
- If you click an annotation item before running the Create
Annotation command, then the name of the clicked
annotation is set by default as the annotation title.
-
Select the annotation item (either in the tree or in the 3D) then
from the
View section of the
action bar,
click
Properties
 . .
You can then enter the new name and the description in the appropriate box.
|