Draw an Area From Scratch
You can draw a area in your experience.
-
From the
Create section of the
action bar,
click
Create Area
 .
The cursor shape changes to
 .
. -
Click a first point.
By default, the first created point intersects the ground and gives the polygon its altitude.
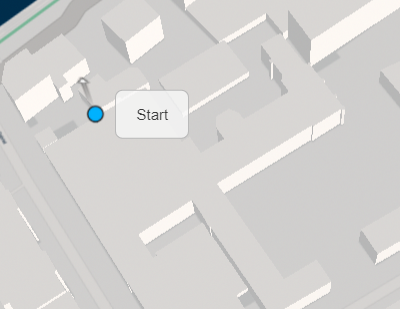
The cursor shape changes to
 .
. -
Click another point to draw a border of the area.
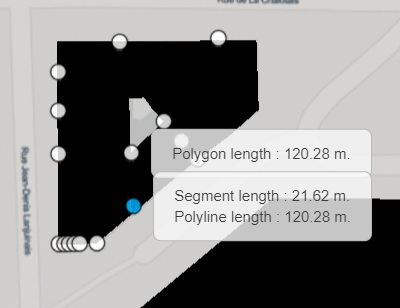
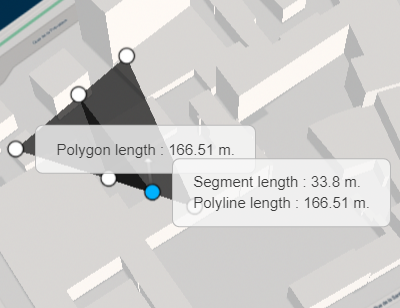
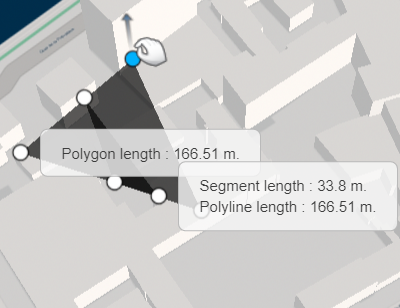
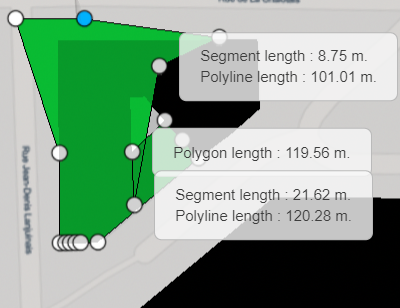
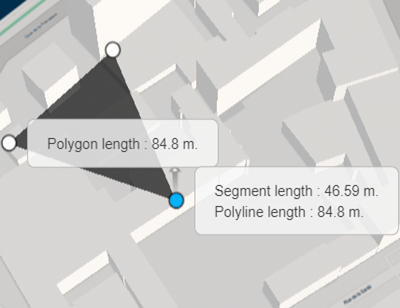
The distance from the previous point in the polyline as well as the length of the segment is displayed.

A new area dataset is created in the tree under the Created Items node.
Important: - Point handles (vertices) are placed in a XYZ coordinate space based on the picking manipulator location (that is, the intersection with the closest item to the camera under the mouse cursor). This means that you cannot click a point in the sky, but only on the ground or on one of the loaded items.
- The location of point handles is determined at the time the point is created or moved. Therefore, points located on items with various levels of details (such as the ground mesh) are not updated when zooming in or out. They keep their initial location in space.
- Optional: To remove a point, click it.
-
Click a third point to close the area.
The polygonal area is colorized in black and the polygon length (as seen from vertically above) is calculated.
-
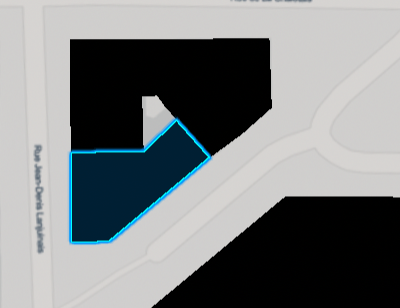
To stop drawing, click Create Area
 (or any other command in the action bar).
 .
.


