Creating Thicknesses | |||
| |||
-
From the Volume section of the action bar, click
Thickness
 .
.
- In the Default thickness faces box, select the faces to thicken.The Support box is automatically filled with the support of the selected faces and is dimmed.
- In the Default thickness box, enter a value. The faces become red and the app displays the thickness value in the geometry.

-
Select the Smoothing mode.
Option Description None No smoothing is applied. This is the default option. The Max deviation and Constant thickness boxes are disabled. Manual Lets you enter a maximum deviation. The default value is 0.1 mm. The Constant thickness option is enabled to allow you to apply a constant thickness. Automatic Smoothing is applied automatically. The Max deviation box is unavailable. -
Click OK.
The volume (identified as Thickness.xxx) is added to the tree.

- Double-click the thickness to edit it.
- Click the Other thickness faces box and
select the lateral face as shown.

- Double-click the thickness value displayed on this face.
- In the Parameters Definition dialog box that appears, enter the value.
- Click OK to confirm and close the dialog box.
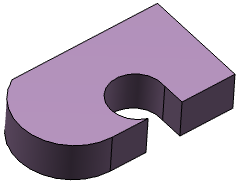
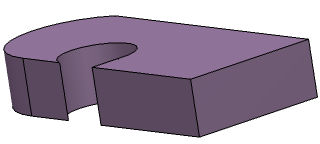
- Click OK to create the thickness feature. The length between the selected face and the resulting face is 25mm.

For more information, refer to 3D Modeling: 3D Modeling Core: Part Design User's Guide: Creating Thicknesses.Tip: The multi-selection capability is available. Click
 to display the list of selected faces.