-
From the Creation section of the action bar, click 3D Curve
 . .
The 3D curve dialog box is displayed.
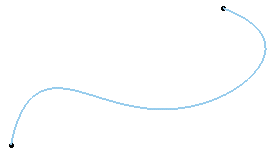
- Choose the Through points type.
- Select the points.
-
In the App Options panel, click Temporary Analysis Mode
 . .
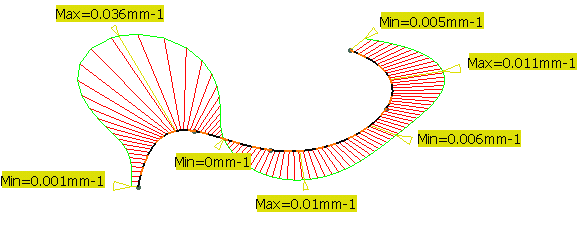
- Select the analysis of your choice, in our example, the Porcupine Curvature Analysis.
- Click OK in the Curvature Analysis
dialog box.
- Select another point in the 3D curve command. The
temporary analysis is updated accordingly.
 You
must activate the temporary analysis mode before running any analysis. Otherwise, a
persistent FreeStyle analysis is performed. The Temporary Analysis node is displayed in
the tree and the associated analysis (here Curvature Analysis.1) appears below. The analysis is
not persistent. Thus when you click OK in the 3D curve dialog box to create the curve, the
Temporary Analysis node disappears from the tree. 
- You can perform several analyses while in the Temporary Analysis command all of
them appear in the tree under the Free Form Analysis node.
- While in the Fill, Net or
Sweep command, you can perform a Connect
Checker or Distance Analysis: the surface to be
analyzed is automatically selected, as well as all surfaces that share at least one
border with it. Once you exit the creation command, the analysis disappears.
|