Creating Revolution Surfaces | ||||
|
| |||
-
From the Shape Sculpt section of the action bar, click Revolve
 .
.
You can also access this command by pressing ALT+SHIFT+R.
The Tools Palette along with the drawing view dedicated for the curve creation appear. -
From the Tools Palette, click Add Point
 to start defining the profile.
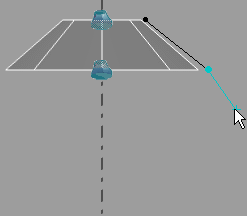
Tip: You can define the profile on the left or right side of the drawing sheet. -
Click to add points and draw the curve.
You can also access this command by pressing CTRL+SHIFT+J.
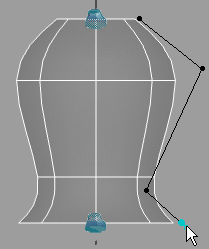
- The created points define the polygon of the curve of subdivisions.
- The surface can be previewed as the points are created.
- When a point is added, it can be moved by dragging the pointer.
- Press and hold down both left and middle buttons to rotate and change the view to see the number of sections and angular modification options.A slider appears at the right of the screen to let you define the sections between 4 and 32.
You can either do the following:
- Drag the slider to the desired value to change the number of sections:
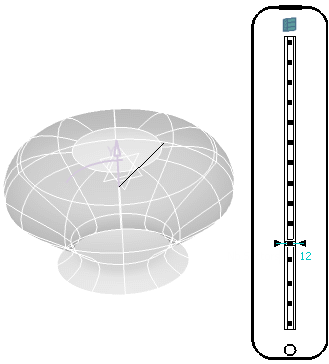
See About the Slider.
- Use the pointer and drag to modify the angle of the revolution surfaces. Two angles can be set, either clockwise or counterclockwise. Double-click to reset the value to 0.
The Tools Palette is also modified in the appropriate view.
- Drag the slider to the desired value to change the number of sections:
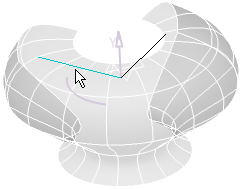
- To close open ends of the surface, click Fill Side

You can also access this command by pressing CTRL+SHIFT+U.
- Select one of the following states:
Option Description The top and bottom sides of the surface are open. This is the default state. 
The top side of the surface is closed. 
The top and bottom sides of surface are closed. 
The bottom side of the surface is closed. The fill behavior can be modified by clicking directly on the icons displayed on the revolution surface. - Click Edition
 .
.You can also access this command by pressing CTRL+SHIFT+E.
- Click Apply (Enter)
 .
The Modification
.
The Modification command along with the Tools Palette is
automatically activated, allowing you to manipulate the surface.
command along with the Tools Palette is
automatically activated, allowing you to manipulate the surface.
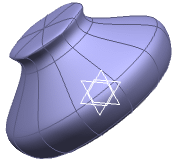
The final surface without any manipulation is as below:
Warning: You cannot use an existing curve to create the revolution surface.