- From the Annotation section of the action bar click Dimensions
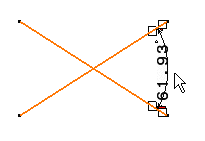
 . . - Select both lines to be dimensioned, one after the other.
The angle dimension appears in the sector associated
to both selected lines.

-
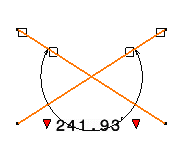
Drag the angle dimension line to the required quadrant (or sector).
- To move the dimension to a new sector, perform either
of the following:
-
Right-click the angle dimension and select Angle
Sector.
-
Select from the following:
- The given angle sectors.
- Complementary angle sector.

- Keep angle range - Maintains the existing angle type (acute,
obtuse, or reflex).
-
Click in the sheet to create the angle dimension.
-
To edit the angle sector of an existing angle dimension, right-click the angle
dimension and select Dimension_name object > Angle
Sector.
- From the customized section of the action bar, click Angle Dimension
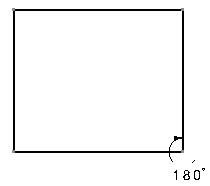
 . . - Select two lines in the rectangle to create an angle
dimension.
- Click to create the angle dimension, then right-click
the dimension and select Half Dimension.
- Click in the sheet to create the dimension.
 Note:
The orientation of the half angle dimension depends
on the order in which you select the lines to be dimensioned. If you
need to modify the dimension, use
Re-routing Dimensions
 . .
|