- From the App Options panel, select Connector Port Handle Mode
 . . - Select the resource to snap.
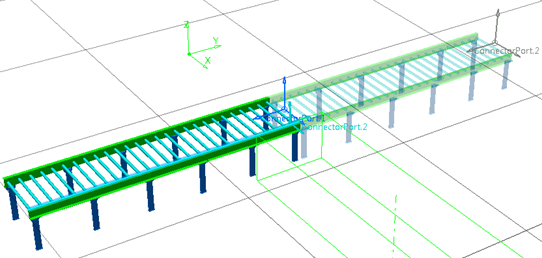
Smart snap is available for connector ports that are not in use already. Ports that are not currently part of any constraint are called "unconsumed." - Click the axis representation on the connector port and drag it to another resource that has unconsumed connector ports.
 By default, The axis representations of the ports are red. By default, The axis representations of the ports are red.

For preview, the dragged object snaps to the available connector port of the target resource. The target resource is displayed as transparent when you snap. - Use smart snap so that base port you select snaps to the mount port on the target object.
- Select the resource and choose Mechanical Port. A warning message appears: Would you like to create an Axis System?, click Yes.
- Click the point on the resource to select the corner of the resource and click Finalize snap
 . . - Select the port connector, enter the direction, and click OK. The connector port is created.
- Select Mechanical Port and select resource to select axis.
- Select axis under the resources, choose Base port, and click OK. The port direction is unavailable since the selection is for connector port.
- Select the resource, the base port representation appears for smart snap, and match the snap with mount port for constraint creation.
- Click the center of the resource for positioning and finalize the position.
- Select the connector port and click OK.
- Drag and drop the resources to the target to snap.
The Snap Options dialog box appears with an option to Place robot at snapping point.  By default, The option is selected. By default, The option is selected.
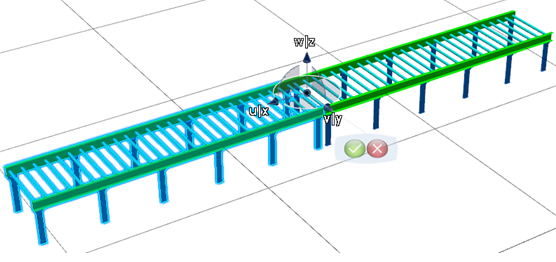
The Robot appears on the moving connector port with the snapped Robot and the ruler. You can give offset to the constraint created using Robot.  - Finalize the snap with the offset by clicking Finalize Snap
 , or reset the offset to 0 by clicking Cancel Snap , or reset the offset to 0 by clicking Cancel Snap  . . The objects are snapped.
|