Creating Ribs | |||||
|
| ||||
-
From the Model or the Essentials
section of the action bar, click Rib
 .
The Rib.x dialog box appears.
 -
In the
Profile box, select
Sketch.2 to define the profile you want to
sweep.
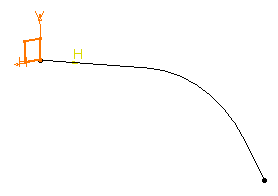
The profile is designed in a plane normal to the plane used to define the center curve. It is a closed profile.
-
In the Center curve box, select the center curve sketch
feature.
The center curve is open. To create a rib you can use open profiles and closed center curves as well. 3D Center curves must not be discontinuous in tangency. You can also use planar wireframe geometry as your profile or center curve.
It is recommended that the profile should be on the center curve in a plane normal to the center curve. Otherwise, it may lead to an unpredictable shape.
The app now previews the rib to be created.
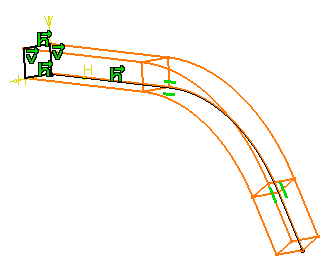
- From the Type list under Profile control, select the appropriate option (in this case, Keep angle).
-
Click
OK.
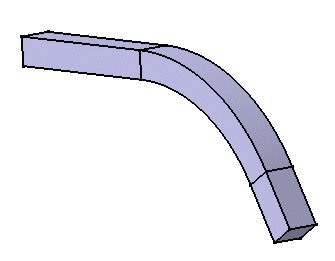
The rib is created. The tree mentions this creation.
-
Delete this rib to create another one by using
Pulling direction. After selecting this
option, select plane xy to define z axis as the pulling direction.
The plane used to define the profile will remain normal to plane xy. The preview looks like this:
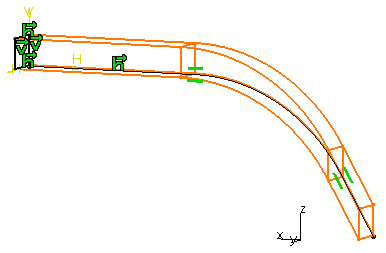
And the rib looks like this:

-
Delete this rib to create another rib by using
Reference surface. First, display the
multi-sections surface in the Show space, then set
Reference surface
and select the multi-sections as the reference surface.
The angle value between the h axis of the profile and the surface equals 0. It
remains constant.
The preview looks like this:

And the rib like this: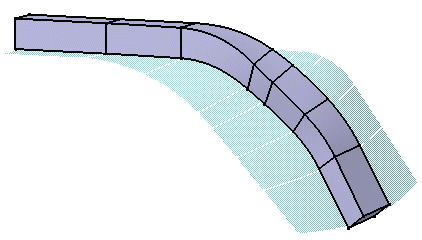
-
Click
 option to add thickness to both sides of the sketch.
New options are available in the dialog box.
 -
In the
Thickness1 and
Thickness2 boxes, enter the thickness values
and preview the result.
Material is added to each side of the profile.

-
To add material equally to both sides of the profile, select the
Neutral fiber check box and preview the
result.
The thickness you defined for Thickness1 is now evenly distributed: an equal thickness has been added to each side of the profile.

-
Click OK to create the rib.
The rib looks like this:
