-
From the Model section of the action bar, click
Slot
 . .
The Slot.x dialog box appears.
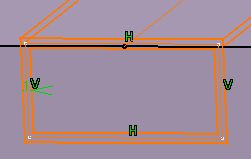
- Select the profile.
The profile has been designed in a plane normal to the plane used
to define the center curve. It is closed. 
- Click the icon
 to open the Sketcher .
This temporarily closes the dialog box. -
Edit the profile and quit Sketcher.
The Slot.x dialog box
reappears.
- To go on with our scenario, let's maintain the Keep
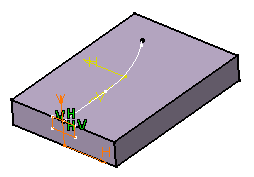
angle option. Now, select the center curve along which the app
will sweep the profile.
The center curve is open. To create a slot you can use open profiles
and closed center curves too. Center curves can be discontinuous in
tangency.
The app previews the slot.
-
Click
 to add thickness
to both sides of the sketch. to add thickness
to both sides of the sketch.
New options are then available.
- Enter 2mm as Thickness1 's value, and 5mm
as Thickness2 's value, then preview the result.
Material is added to each side of the profile. Selecting
Merge Ends trims the slot to existing
material. - To add material equally to both sides of the profile,
select Neutral fiber and preview the result.
The thickness you defined for Thickness1 is
now evenly distributed: a thickness of 1mm has been added to each side of the
profile.  - Click OK.
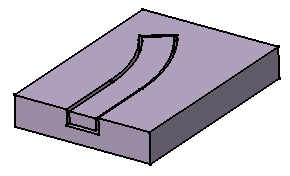
The slot is created. The tree indicates this creation. 
|