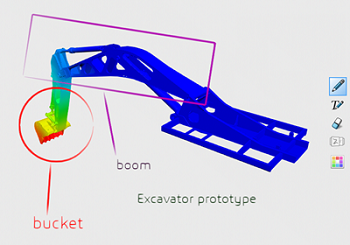
You can call out specific parts of a model using a variety of annotation
styles.
All annotations (lines, shapes, and text) move with the model when you
rotate and pan. Therefore, it is possible to create annotations visible from different
viewpoints.
-
From the Tools section of the action bar, click Annotation Commands
 .
.
-
From the context toolbar, click Annotate
 .
.
-
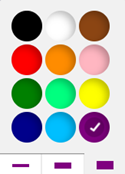
Click Annotation Tools
 to pick a color and pencil size:

- To set the color, click the circle and choose a color.
- To set the pencil size, click one of the three rectangular tabs. You can select
a thin, medium, or thick stroke.
-
Draw strokes to sketch your annotation.
The position of the annotation in 3D (on an object or on a plane) is based on
where you draw your strokes. When applicable, shapes are recognized and converted into
lines, ovals, circles, triangles, rectangles, and arrows.
-
Click Text
 to create a text box in your annotations.

Type the text as required. Drag the text to position it precisely, or resize it
using the dedicated handle. Change the color or the thickness using the
Annotation Tools in the context toolbar.
-
Click Erase
 and
then click the annotation to erase it.
The annotation remains until you delete it, switch to
different content, or until you create another one.
 .
.
 to pick a color and pencil size:
 to create a text box in your annotations.