Creating Local Corner Relieves

You can create a local corner relief.

This task shows you how to:


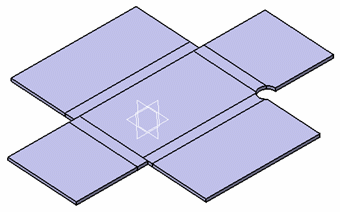
Before you begin: Create a 3D shape and unfold it.

Create Local Corner Relieves

You can create a local relief corner.

  1. From the Refine section of the action bar, click Corner Relief .
  2. From the Type list, select one of the following:
    OptionDescription
    Circular Enter a radius value.
    Square Enter a length value.
  3. Select the supports on which you want to create the corner relief.
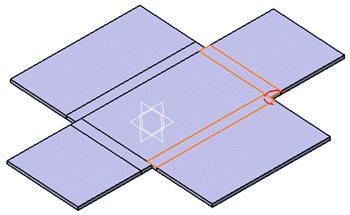

    Note: To select all faces, right-click the Support box and select Select All. This command only selects conical, cylindrical, and planar bending faces.
  4. Click OK.


    Important:
    • You can create several corner reliefs at once, by selecting manually several bending faces.
    • By default, the corner relief center is the barycenter of the supports but you can also define it, either by selecting an already existing point or by clicking Create Point to create it.

Create Local Corner Reliefs with a User Profile

You can create a local relief corner with a user profile.

Before you begin: Create a 3D shape containing profiles.
  1. From the Refine section of the action bar, click Corner Relief .
  2. From the Type list, select User Profile.
  3. Select the supports on which you want to create the corner relief.
  4. Select an existing sketch in 3D area.

    • If there is no existing sketch, click Sketch to draw one.
    • You can also click Open Catalog to insert a profile from a catalog. For more information, see Browsing the Sheetmetal Catalog.

  5. Click OK .


    Important: With a user profile type, you can create only one corner relief at a time.