Launching the Resource Generator from the Command Line | ||
| ||
Post-Resource Generator Execution
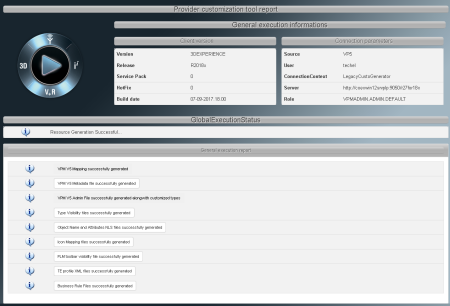
After installation is completed, the following files are generated:
- VPM V5 mapping files
- a VPM V5 metadata file
- a VPM V5 admin file
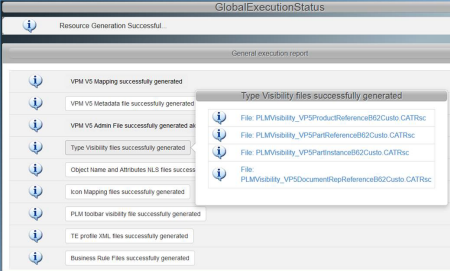
- type visibility files
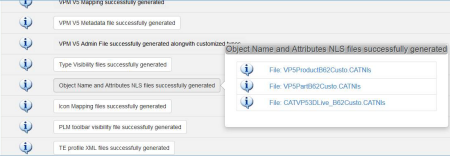
- object name and attribute NLS files
- icon mapping files
- PLM toolbar visibility files
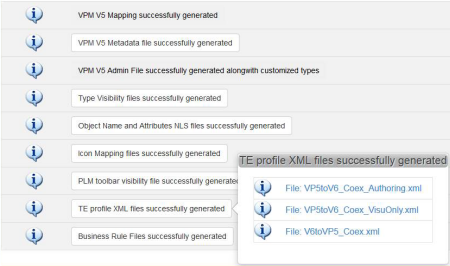
- TE profile XML files (generated for import and export)
- business rule files (generated for import and export).
Files 1 through 3 are generated at:
- the location specified in the file V5V6ResourceGenerator.xml if the V5 directory output is provided in that particular file
-
C:\Users\hm8\AppData\Local\DassaultSystemes\CATTemp
if the V5 directory output is not provided in the file V5V6ResourceGenerator.xml
Files 4 through 9 are generated at:
- the location specified in the file V5V6ResourceGenerator.xml if the 3DEXPERIENCE (V6) directory output is provided in that particular file
-
C:\Users\Public\Documents\DassaultSystemes\UserCache\B421D16\OnPremise\win_b64
if the 3DEXPERIENCE (V6) directory output is not provided in the file V5V6ResourceGenerator.xml
Once the resources have been generated in the Business Logic files, customized V5 types are mapped to OOTB 3DEXPERIENCE types. So, if you want to map customized V5 types with customized 3DEXPERIENCE types, you just have to replace the OOTB types with the customized ones in the TypeMapping CATRule file.
Example:
if(srcObject->IsSupporting("VP5ProductReferenceCusto") == true
	or srcObject->IsSupporting("VP5PartReferenceCusto") == true
	or srcObject->IsSupporting("VP5ProductReference") == true)
	{
		/*custoTypeName = "VPMReference"*/
		custoTypeName = "VPMReference_Custo"
	}
Notes:
- You can map multiple V5 customized or OOTB types to a single 3DEXPERIENCE customized/OOTB type.
- If LegacyCustoGenerator is run in NOCUSTO mode, the Business Logic files for upgrades and
downward transfers must be copied from the client installation directory. To
be more precise, copy the following to the directory Installation\win_b64\resources\knowledge\scripts:
Installation\win_b64\resources\samples\VP5_Coex__V5V6_NewTyping_DefaultDS
for an upgradeInstallation\win_b64\resources\samples\VP5_Coex__V6V5_NewTyping_DefaultDS
for a downgrade.


