Creating and Editing a Text Marker in a View | ||
| ||
-
Click Text
 , from the primary
Instruction Authoring
action bar,
then click in the 3D work area.
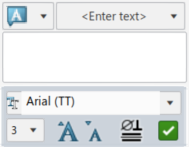
The Text Marker Creation context toolbar appears.
-
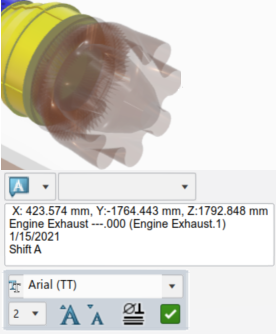
Select $ID & $POS and $Date from the
< Enter text> area.
These selections add the name, position, and date of the item marked.

-
Modify other aspects of your text.
- Change the font and its size.
- Make the text smaller.
- Insert symbols.
-
Select < Enter text>, and as an example type in
Shift A.

-
Click
 OK.
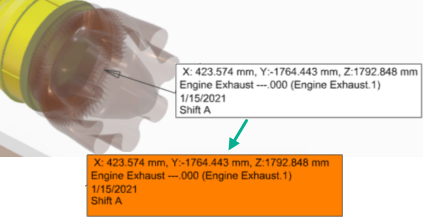
The text appears in the work area
Click on the field activates if you need to move or change the size.
-
To change any aspect of the field, right-click the field and select
Properties.
In the 3D Text Properties tab, change the fill color to Orange.

In the right top corner, the Dressup panel opens.

Selecting Text.1, the commands appear.

You can change the Leader with arrow, Graphical properties, or Hide/Show.Modify your dressup items by selecting and right-clicking them in the Dressup panel.
- Hide/Show - Hides or shows the text.
- Edit Content - You can edit the content.
- Rename - Renames the text.
- Deletes - Deletes the text.