Installing 3DSearch | |||||||
|
| ||||||
-
Procure the media for your operating system, and prepare to install the
software as explained in the DS Installer
Guide.
The name of the installation media is:
-
FederatedSearchFoundation-V6R2022x.Windows64.zipon Windows. -
FederatedSearchFoundation-V6R2022x.Linux64.tar.gzon Linux.
-
-
Untar/unzip the media to create the following directory:
-
FederatedSearchFoundation.Windows64on Windows. -
FederatedSearchFoundation.Linux64on Linux.
-
-
Change to the distribution directory.
The directory is:
- FederatedSearchFoundation.Windows64/1 on Windows.
- FederatedSearchFoundation.Linux64/1 on Linux.
Then start the installation as follows:
- Windows: double-click setup.exe
- Linux: ./StartGUI.sh for the GUI, or ./StartTUI.sh
The installation procedure starts, and a dialog box displays a welcome message.
Click Next to move to the next step.
-
Specify the installation directory.
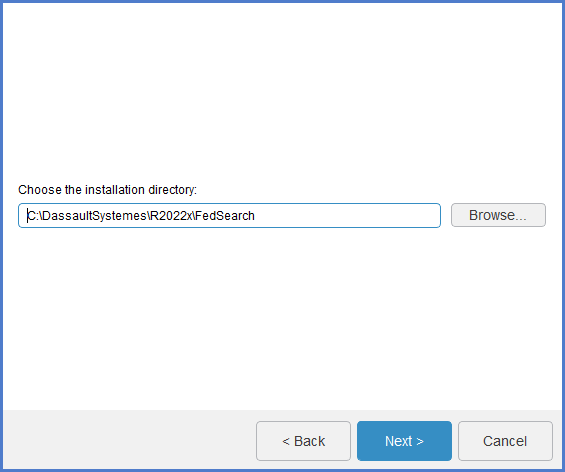
For example:
-
C:\DassaultSystemes\R2022x\FedSearchon Windows. -
/usr/DassaultSystemes/R2022x/FedSearchon Linux.
Note: The installation path cannot contain any space characters.Or, click Browse... and navigate to choose the directory.
Click Next.
-
-
Specify if you want to install the embedded Java.
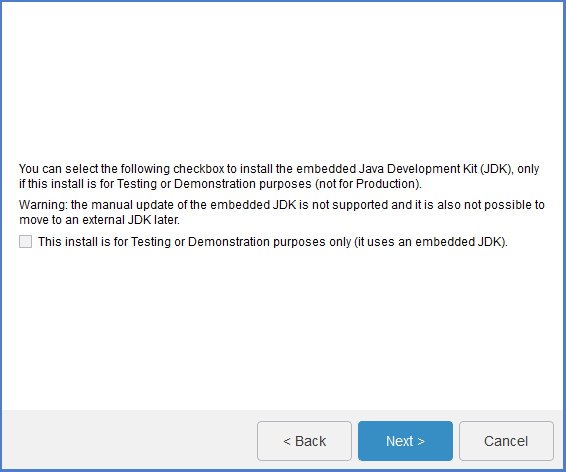
To install the service, you must have a Java Development Kit (JDK).
Choosing embedded Java also means choosing the embedded TomEE.
The This install is for Testing or Demonstration purposes only (it uses an embedded JDK) check box is not selected by default.
The embedded JDK is installed in:
C:\DassaultSystemes\R2022x\FedSearch\win_b64\code\serverjreon Windows/usr/DassaultSystemes/R2022x/FedSearch/linux_a64/code/serverjreon Linux.
Click Next.
-
If you did not check the This install is for Testing or Demonstration
purposes only (it uses an embedded JDK) check box, specify the Java Home
path.
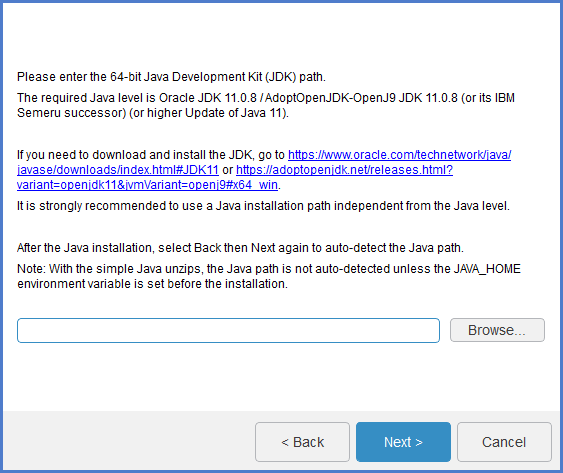
This is the location of your Java Development Kit (JDK).
On Windows, the Java location is detected automatically.
If you use local certificate authority, register these certificates in the Java store using the
keytoolutility.Note: For certificates, use only files with the.cerextension.Click Next. -
If you decided NOT to install the embedded Java earlier, the setup will prompt
you to specify whether you want to install the TomEE+ application server.
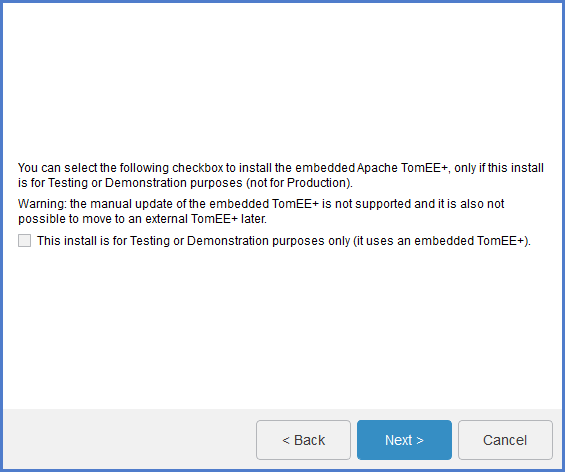
An application server is required to install the service. Check This install is for Testing or Demonstration purposes only (it uses an embedded TomEE+) if you want to install the TomEE+ application server delivered with the media. It will be installed in:
<FedSearchInstallPath>\win_b64\code\tomeeon Windows.<FedSearchInstallPath>/linux_a64/code/tomeeon Linux.
On Windows, the 3DEXPERIENCE R2022x federated TomEE+ service is created and started.
On Linux, to start and stop the embedded TomEE+, run:
<FedSearchInstallPath>/linux_a64/code/tomee/bin/startup.sh<FedSearchInstallPath>/linux_a64/code/tomee/bin/shutdown.sh -force
Click Next.
-
If you decided to use external TomEE+, specify the path of your existing
TomEE+ installation.
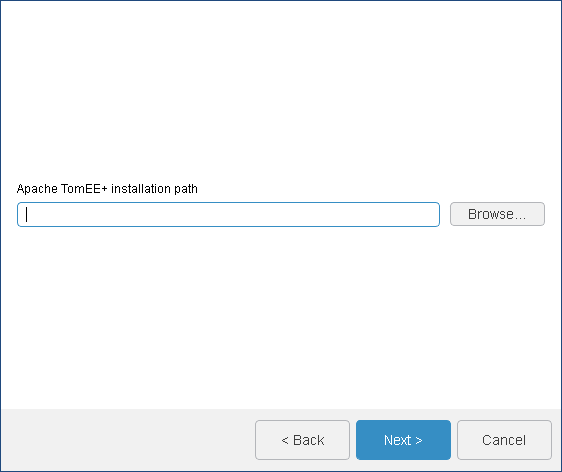
Important: For Windows, the external TomEE+ service requires an additional configuration. See External TomEE+. Click Next. -
If you decided to install the embedded TomEE+, specify the TomEE+ connection
port number.
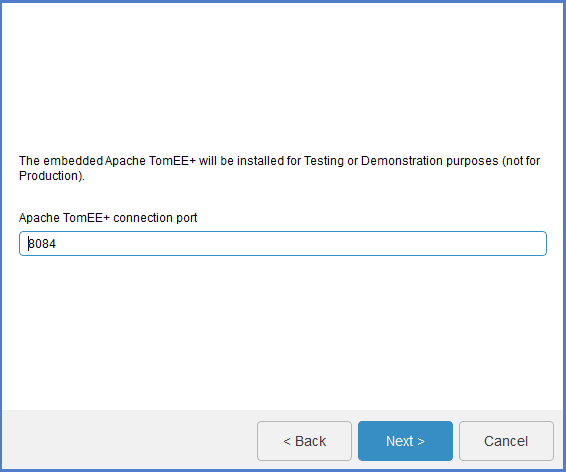
Choose a listening port number for TomEE+ to listen for HTTP requests. The default is 8084. The automatically fixed TomEE+ shutdown port is 8085 (that is the first free following port).
Click Next.An information box containing the following message appears:
Chosen Apache TomEE+ connection port 8084
Automatically fixed TomEE+ shutdown port 8085 (first free following port)
-
Specify the previously configured, dedicated URL endpoints for the 3DEXPERIENCE platform services.
Important: Do not use uppercase characters in these URLs (standard form specified in RFC3986). 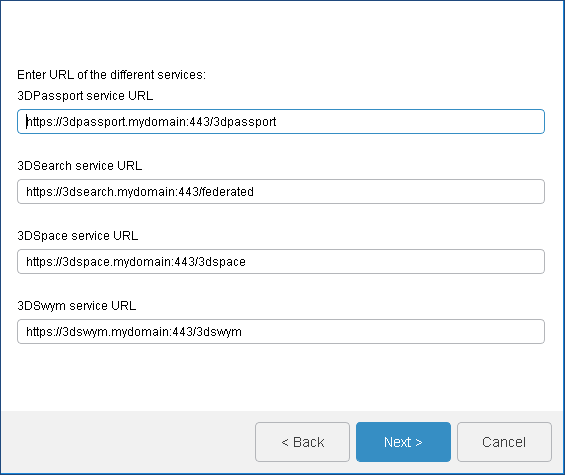
Before you do so, check the following:- The URLs must contain Fully Qualified Domain Names (FQDN).
- The URLs must start with
http(s)://(and not ftp or other). - 3DPassport and 3DSwym must have a root URI if you install all services on the same machine.
- 3DSearch(federated search).
- 3DSpace has a root URI.
- If you install all services on the same machine, the ports must be different.
Sample URLs (if the services are installed on different machines) are:
- 3DPassport service URL: the default is: https://3dpassport.mydomain:443/3dpassport
- 3DSearch service URL: specify the name of the federated search service; the default is: https://3dsearch.mydomain:443/federated
- 3DSpace service URL: the default is: https://3dspace.mydomain:443/3dspace
- 3DSwym service URL: the default is https://3dswym.mydomain:443/3dswym
Click Next. -
If you decided to use the embedded Java, specify the certificate location.
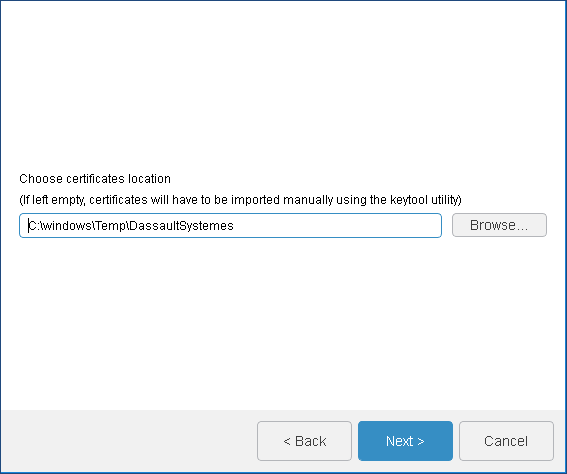
This directory contains the certificates to import into the JVM used by TomEE+. The default is:
C:\Windows\Temp\DassaultSystemeson Windows./tmp/DassaultSystemeson Linux.
If you leave the path empty, you can import the certificates manually later as a post-installation step. For more information, see Reconfiguring the 3DEXPERIENCE Platform Installation.
Note: For certificates, use only files with the.cerextension.Click Next. -
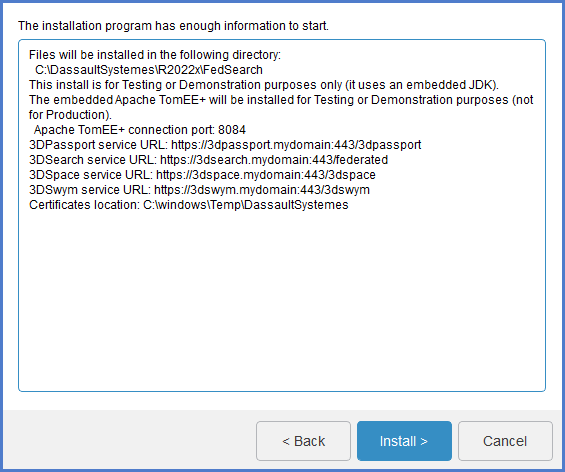
Review your installation parameters and click
Install.
-
Once the installation is complete, the following message displays:
The installation program has finished installing 3DEXPERIENCE R2022x on your computer
Installed Components:
3DSearch Service
Click Close to exit setup.
You can consult installation logs here:-
<FedSearchInstallPath>\InstallData\logon Windows. -
<FedSearchInstallPath>/InstallData/logon Linux.
Also consider the following logs for debugging or analyzing:
- Apache Httpd:
<ApacheInstallDir>\logs\*on Windows.<ApacheInstallDir>/logs/*on Linux.
- Embedded TomEE+ default log directory:
<FedSearchInstallPath>\win_b64\code\tomee\logson Windows.<FedSearchInstallPath>/linux_a64/code/tomee/logson Linux.
- External Apache TomEE+ default log directory:
<externalTomEEInstallPath>\logson Windows.<externalTomEEInstallPath>/logson Linux.
If you are using embedded TomEE, on Windows, the 3DEXPERIENCE R2022x
federatedTomEE+ service is created and started. -
- Copy the content of federated_httpd_fragment.conf available in <INSTALLDIR>\<OS>\templates and add it to the httpd-ssl.conf file available in your reverse proxy configuration directory.
For more information about post-installation commands and quick maintenance operations, see Operations. For more information about 3DSearch administration and customization, see the 3DSearch Administration Guide.