Creating a Track

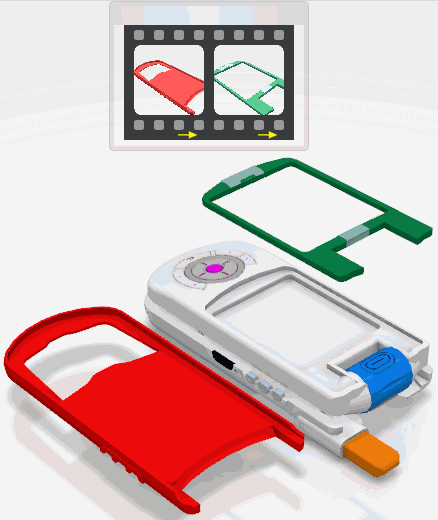
To simulate Loading or Unloading operations, create tracks along which the discrete parts move during the simulation. Each track is recorded within an operation and each operation is a distinct frame within the Operations Sequencer.


Before you begin: Have a scenario open with an object.
See Also
Modifying a Track
Creating an Unloading Operation
Simulating the Operations
  1. Select a part.
    The Robot appears at the selected point on the part. The Robot manipulation handles can be used to move the part in a translation direction, a planar direction or according to a rotation.


  2. Using the translation manipulation handle, drag the part in the appropriate direction.

    As you move the part, a dashed green line is displayed to indicate how the part has moved. Each discrete movement is a "shot".

    This dashed green line represents the track itself. This line exists only when the track is being created. Once you stop adding shots to the track, it disappears. In the figure below, a ruler displays as the part moves up.


  3. Add additional shots to the track and complete the track by selecting another part, double-clicking in any open space, or selecting an operation in the Operations Sequencer.
    Once you have created a track:
    • The track is added at the start of the sequence.
    • The track is reversed, to resemble a Loading operation (for assembly).
    • The Operations Sequencer is updated to include the new track.


  4. Review the track by selecting the product and either using the Play button of the Compass or scrolling up or down the shots. You can scroll using the scroll wheel of the mouse or the Up Arrow and Down Arrow keys.
    Note: If you select a part that collides with another part when it is moved:
    • The part is highlighted, and the blocking part is outlined in blue.
    • A message appears in the upper right stating that the part cannot move.
    • If you move the part anyway, a message appears in the upper right stating that the constraints are overridden.

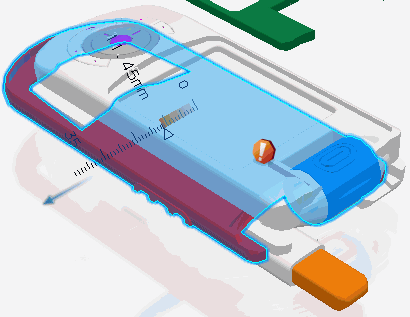
    In figure below, the cover is outlined in blue due to a detected collision:


    In figure below, the part has been moved by overriding the collision: