 -
From the Generate Lattices section of the action bar,
click Lattice Struts
 . .
The lattice area is clearly displayed by reducing the opacity of remaining
part.
-
Under Lattice Type, select Cylindrical
 . .
-
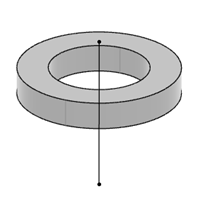
Under Axis Options, select the axis.
-
In the Neutral radius and Minimum bar
length boxes, specify the required values.
-
Click OK.
A Lattice Strut Set.x is added to the tree. It contains
all the lattice strut features related to the lattice areas from a same body and a
Tessellate.x feature.The tessellation feature under the lattice
strut set contains the polyhedral result of the body.
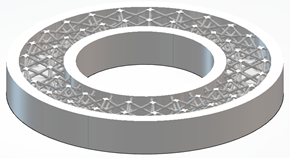
- In the tree, select the Lattice Area.x feature.
-
In the Visualization model list, select
one of the following visualization types for the lattice struts to be created:
| Visualization Mode | Result |
|---|
| Cavity |
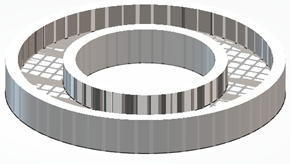 |
| Wireframe |
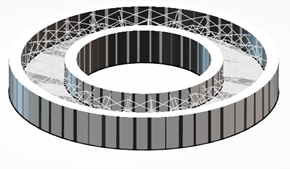 |
| Bars |
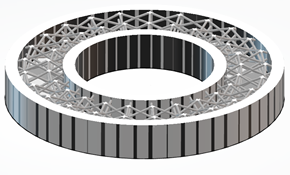 |
The visualization of the lattice struts is previewed according to the selected
visualization mode.
-
From the Generate Lattices section of the action bar,
click Lattice Geometry
 . .
The part is visible and the lattice struts are highlighted.
-
In the tree, select Lattice Strut Set.x feature.
- Under Advanced Options, specify the required values for Decimation sag and Smoothing Value.
- Optional: From the Tools section of action bar, click Clipping Tool
 to see the lattices created inside a closed area. to see the lattices created inside a closed area.
|