Stacking Layers | ||||||
|
| |||||
-
From the Concept section of the action bar, click Layer Stacking
 .
.
-
Select a concept surface with an assigned layer.
The first selected layer is added as reference layer to the layer list in the Layer Stacking Creation Wizard.
- To add additional layers to the stacking, select one surface at a time with a layer to be added to the layer list.
- Click Finish in the Layer Stacking Creation Wizard.
-
In the LAYER STACKING context toolbar, click Assign Stacking
 and select a surface.
-
In the work area, click
 Assign Stacking?
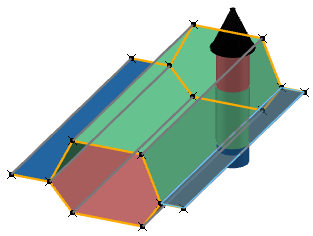
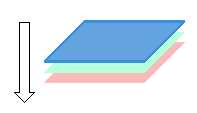
 The layer orientation is displayed by a vector symbol. The colors indicate the layer order in the stacking and the layer thickness.
The LAYER STACKING panel provides a preview of the stacking.

In the tree, a Stacking.x element is added to the Stacking Layers subtree. The check mark indicates that it is assigned to surfaces.
- Optional:
Use options in the Layers section toolbar to
Option Description 
exclude a selected layer from the mesh operation  or
or 
to add a layer to the stacking or remove it 
to define the selected layer as reference 

to change the layer order. - Optional:
To remove a stacking assignment from a surface, click the surface and in the CONCEPT SURFACE FACE panel, click
 in the Stacking / Layer row.
-
From the Concept section of the action bar, click Mesh
 .
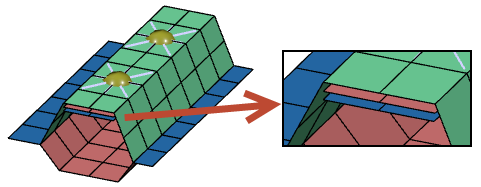
In the Finite Element Model is created a multi-layer mesh from single layer surfaces to which a layer stacking is assigned.