-
Click New Measure Between
 .
.
The
Measure Between dialog box appears.
-
Select the options you want.
For more information, see Measure Between Dialog Box.
Note:
The system begins to compute the measurement when you select the second object.
This may slow how long the selection takes.
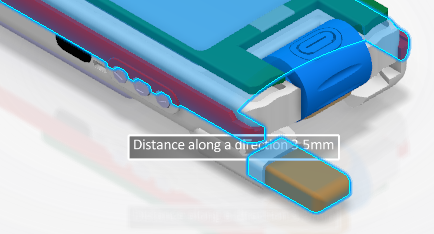
The measure appears in the
work area.

A thumbnail is created under
Probes
.

-
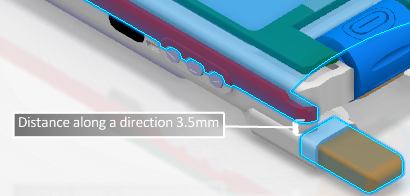
In the work area, grab the measure and move it so that it is more visible.
-
Click OK in the Measure Between dialog box.
The measure definition and its display location persist, and the measure can be
observed or modified if you right-click the thumbnail and select
Definition.
You can use this probe
in a scenario. If you save the content in your manufacturing
scenario, the state of the probe in the scenario in which it is referenced can
persist from one 3D Simulation session to another.
Note:
For information on
the commands available when you right-click the probe, see Probe Commands.


