Using Smart Place from Database | ||||
|
| |||
-
From the Device section of the action bar,
click Smart Place from Database
 .
.
-
Select one or several components using the Content
Chooser.
For more information, see Using the Content Chooser.
The selected components appear in the Place Device dialog box. - Optional: To duplicate the reference of the selected component and instantiate it as a new reference:
- Select Duplicate and Insert.
By default, this option is cleared.
- In the Duplication String box, enter a value to define the name of the new reference.
Note: You can define a business logic to duplicate and instantiate the reference automatically. For more information, see Validate Duplicate and Insert Availability During Smart Place.When the opening ID is defined, the Duplicate and Insert option is not available.
- Select Duplicate and Insert.
-
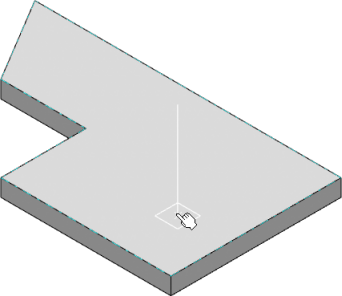
In the 3D area, hover over one of the following objects to select a positioning reference:
- A point
- An edge or a lineNote: When hovering over an edge or a line, press Ctrl to select the edge or the line as reference.
- A surface
A handle displays the position of the component to be placed.
Tip: Press Shift to reverse the handle direction. -
Click to place the component.
The component is placed and oriented according to the positioning reference.
 Note: If a connection point is selected as reference point, an engineering connection is created between the component and the device.
 - Manipulate the Robot to edit the position of the component.
- Optional: In the Place Device dialog box, select another component and place it in the 3D area.
- To validate your manipulations, click in the 3D area or press Enter.