- From the Branch section of the action bar, click Immersive Branch Definition
 . .- The Auto Routing Mode
 is activated. is activated. - The Branch Properties panel appears.
- In the panel, enter a Branch Name and define the Profile and Geometry properties of the branch to be created.
For more information, see About Branch and Segment Properties. -
In the 3D area, select two route elements.
A new branch is created and a yellow bullet  appears on each passing point. 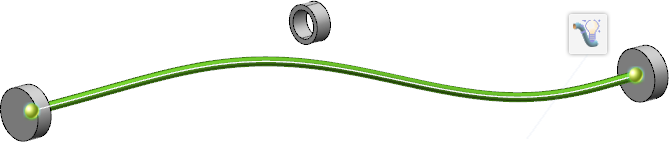 - Select another route element to automatically add it to the branch route.
The design of the branch is updated. 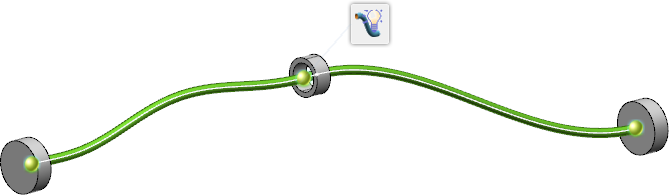 -
To cancel your manipulations, press
Escape or close the
Branch Properties panel.
-
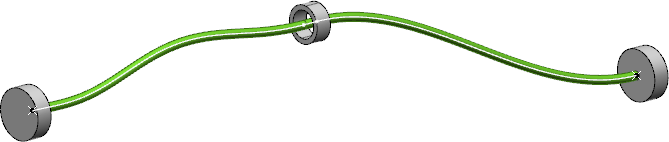
To validate your manipulations, click in the 3D area or press
Enter.
The branch is created.
|