Creating Parallel Portions | |||||||
|
| ||||||
 .
.-
Click a passing point to activate the Manual Routing Mode
 .
.
-
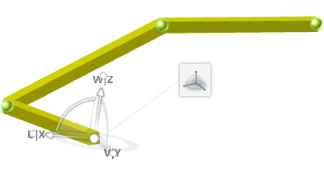
Drag the Robot on the reference branch to retrieve its curve's direction.
 The Robot goes back to its initial position and is now aligned with the direction of the branch curve.
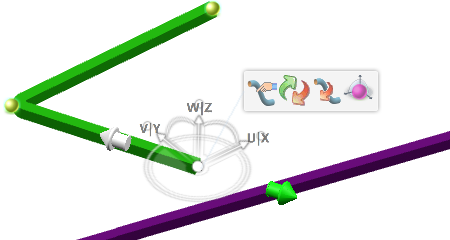
- Drag the W/Z axis of Robot to route a new branch portion and to add a new passing point.The Robot follows the curve direction of the purple branch.

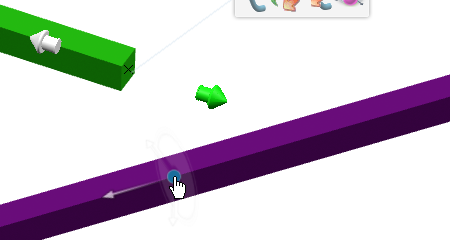
- Drop the Robot when you are satisfied with your design, and click in the 3D area to validate.The new branch portion is parallel to the reference branch.

| Tip:
You can also use the Copilot to move a passing point following the direction of a reference branch. To do so, activate the Move Mode and drag the Robot on a reference branch. The direction of the branch is retrieved and the Robot axis is aligned with the branch curve. Then, drag the Robot to move the passing point following the branch direction.
|