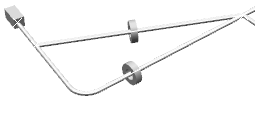
When two branches form a loop, you can select the bigger branch to close the loop. As a result, the selected branch is rolled to close the loop and its length is not modified by the action.
More precisely, if the loop involves two branches only and if you select the longer branch involved in the loop, it can be closed with the Local Mode  and Close Loop
  commands and, the selected branch is rolled to close the loop.
- From the Formboard section of the action bar, click Prepare Layout
 .
. - On the context toolbar, click Local Mode
 and then Close Loop
 .
. -
Select the bigger segment of the branch.
- You can select a portion of the branch which moves to close a loop.
- You can select the device at the end of the branch if the loop line is created with the device at one end.
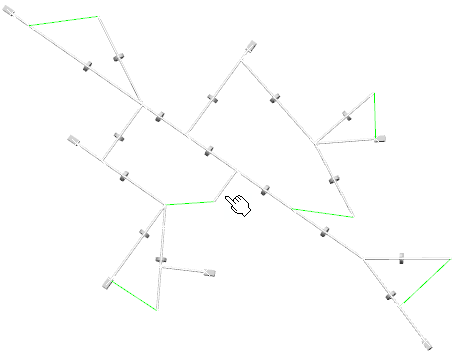
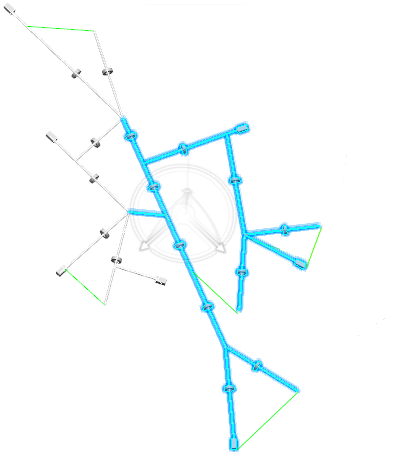
A preview of the loop closure is generated:
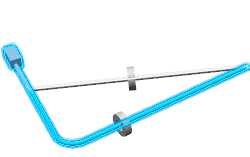
The system automatically
rolls this side of the branch to close the loop.
This is the loop line nearest to the selection that is chose for closure.
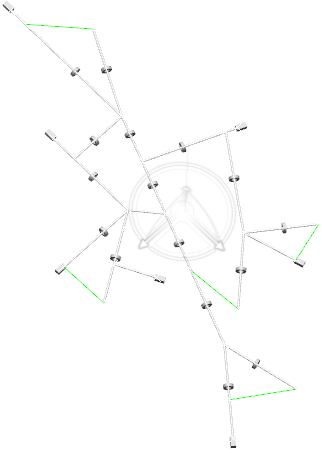
You can select the device to close the loop if the loop has the device at its end. The selected side of the network is moved to close the loop
Note:
The conditions for loop closing are described below:- If the distance between the ends of the first and second loop is less than the selected branch's length, the loop closure is possible. If not a message appears stating that the selected branch is not long enough to close the loop and it is recommended to selected a longer branch or to click Global Mode
 and Close Loop
  .
. - If the branches forming the closed loop are straight with approximately same length, the loop does not close.
- By default, the bend radius for rolling will be two times bigger than the branch's bend radius or as specified in the business rule.
- If the whole branch is not involved in the loop, only the portion of the branch which is straight, is rolled.
- If the branches forming the closed loop are straight with approximately same length (the branch's configuration leads to a very small or very large roll angle) a message asks you to rotate the branch to reduce the distance between the open ended branches.
- If length tolerances are applied on the portion of the branch to be rolled, a message is displayed.
- If a branch is common to more than one loop, select first the branch portion having a loop line that can be considered uniquely, without impacting the other loops.
-
Click the 3D area background to validate or press Esc to cancel the modification and exit the command.
![]() and Close Loop
and Close Loop ![]() commands and, the selected branch is rolled to close the loop.
commands and, the selected branch is rolled to close the loop.

