Push a Body
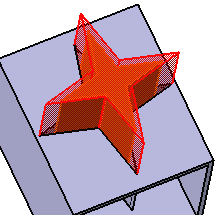
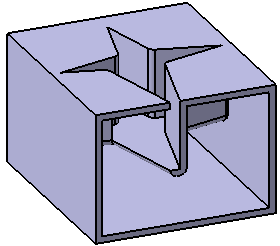
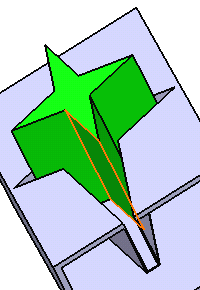
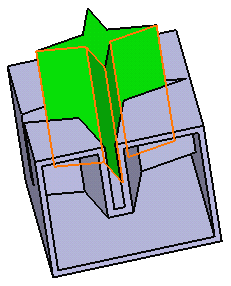
You can push a selected body into another body and carry out various operations (like filleting and removing the unnecessary faces) on it.
-
From the
Create section of the
action bar,
click
Cutout or Push
 .
.
The Cutout.x dialog box appears.
-
Select External Shape
 as the shape definition.
The Push.x dialog box appears.
 - Select the pushing body in the Tool body box.
-
In the Clearance box, enter the clearance value.
Clearance is the protected volume around the pushed feature that separates it from solid functional set.

-
Under Wall:
- From the Type list, select Enter Thickness.
- In the Thickness box, enter the thickness value.
Note: The walls produced by the Push feature are defined by one of the two options available from the Type list:- Use body thickness: The push wall thickness is that of the active shelled body thickness.
- Enter thickness: Enter the value you want. After this option is selected, the Thickness box becomes available. Wall thickness values can only by positive values.
- The Constant wall thickness check box
-
To add fillets, click the
Fillet tab.
-
From the
Intersection fillet list, select the
following check boxes to create fillets at the required intersections:
- Intersection with Core/Cavity
- Intersection with Core
- Intersection with Cavity
- Select the Fillet radius check box to create fillet by adding material to the feature.
- Select the Round radius check box to create fillet by removing material from the feature.
- Select the Preserve shell thickness check box to maintain the thickness at fillets.
-
From the
Intersection fillet list, select the
following check boxes to create fillets at the required intersections:
-
Click
OK.
The push feature is created. Push.X is added to the tree under the Solid Functional Set.X node.

-
In the Faces to remove box under
Control, select the faces to be removed, if any.

Tip: If you want to remove: - A face from the selection: Select the face from the geometry.
- All selected faces: Right-click the Faces box and select Clear Selections.
Important: By selecting faces in the Faces to remove box under Openings, the walls facing to the selected face will be removed. This feature is useful for the vent shapes. The clearance option on selected faces will be compatible with the selection of faces to remove. -
Click
OK.
The push feature is edited.

 .
.

