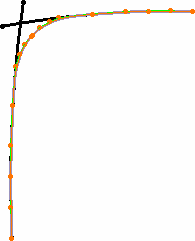
Creating Styling Corners

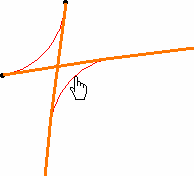
You can join two planar curves with a connecting curve.


Before you begin: Open an existing 3D shape containing two curves.
See Also
Analyzing Using Porcupine Curvature
Creating a Net Surface
  1. From the Creation section of the action bar, click Styling Corner .
  2. Select the two curves to be connected.
  3. In the Radius area, enter a radius value.
  4. Click Apply.
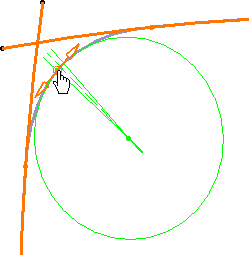
    The corner is previewed with handles at the circle center, the constant radius limit (the segment between the two solid radius lines), and the contact points. To make the contact points visible, click Contact Points in the App Options panel.

    Right-click the contact point to open a context menu.

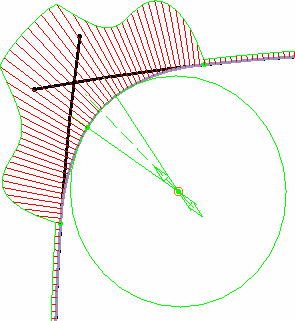
    Click Porcupine Curvature Analysis to visualize the resulting corner's curvature, and modify it using the corner's handles.


    Smooth the curvature at the contact points and reduce the constant radius area:


  5. Modify the Radius value.
  6. Select Single Segment to impose a limited number of control points for the corner curve, thus resulting in a single arc curve. In this case, the generative circle is not displayed, only the contact points.

    Note: The concatenation mode is not available with this mode.


  7. Select the resulting curve type.
    • Trim: Creates a three-cell curve limited to the initial curves endpoints.

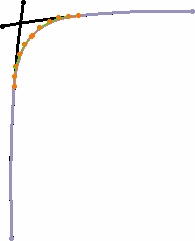
      You can display their control points independently with Control Points (it creates another independent curve corresponding to the selected cell). Initial curves are duplicated and trimmed at the contact points with the corner segment.


      • No Trim: Creates the corner arc only limited at the intersection with the initial curves are not modified.

    • Concatenation: Creates a mono-cell curve limited to the initial curves endpoints.

      You can display its control points independently with Control Points (it creates another independent curve corresponding to the whole curve). Initial curves are duplicated, trimmed at the contact points with the corner segment, and concatenated with the latter.


  8. Click OK to create the styling corner.

Tip: A useful application of this command is to create a set of styling corners based on intersecting curves, then create an associate net surface based on these styling corners. You can then modify the initial set of curves and the surface is recomputed automatically.