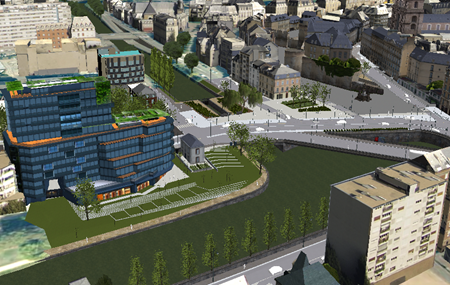
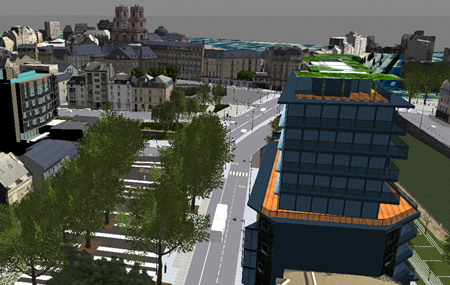
-
Navigate in your environment to position the camera at the desired
location.
You can use the mouse or the localisator.

-
To create a viewpoint object at the root of the hierarchy, make
sure no item is selected in the tree, and then click
Create Viewpoint
 from the
Create section of the
action bar. from the
Create section of the
action bar.
The current camera position is saved and a new object named
"New Viewpoint" by default is added at the bottom of the tree.

-
To create a viewpoint object under an existing item, right-click the item in
the tree, and then click Create Viewpoint
 from the Create section of the action bar. from the Create section of the action bar.
Note:
If the item you select is not a group, the new viewpoint is created under
the parent group of the selected item.
-
To rename a viewpoint, double-click it, enter the new name, and
then press
Enter.
-
Position the camera on another area of interest, and then click
Create Viewpoint
 . .
A new viewpoint object is created.

-
Right-click a viewpoint in the tree, and then select:
- Set Viewpoint to smoothly move to the
camera position stored for this viewpoint. Note that you can achieve the same
effect by clicking
 on the right of the viewpoint name. on the right of the viewpoint name.
- Remove Viewpoint to delete the related
viewpoint.
- Remove to remove the viewpoint object
from the tree.
|