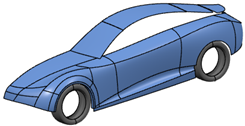
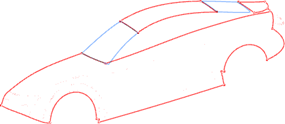
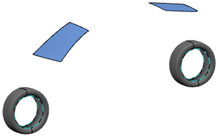
Creating Frames | ||||||
|
| |||||

-
From the Surfacing section of the action bar, click
Organize
 .
Note: De-activating the
 icon only minimizes
the Organize panel, but does not end the command. The
Organize command is running while the app is active.
 -
Click Create Frame
 in the Frames section.
An empty frame "Frame 1" is created.
 - Double-click "Frame 1" and enter a name, for example "Wheels".
-
Select all elements belonging to the car wheels and click Add Selected
Elements
 in the "Wheels" frame row.
The selected elements are added to the "Wheels" frame.
 - Create a frame "Glasses" and add all elements belonging to the car glasses to it.
-
Hover over the frame rows.
The elements belonging to the frames prehighlight.

- Click "Glasses" to make it the current frame.
-
Select "MASTER" in the Display Lists section and set the
"DEFAULT" and "Wheels" frames to No Show
 .
.
You can specify the frame mode:
Option Description Active 
You can modify the elements of active frames provided that you selected the "MASTER" or the user-defined display list they belong to. Template 
You cannot select and modify elements. You can only use the wireframe display. No Show 
You can set the elements to the hidden mode. Note: You can change the state for all but the current frame. Do not select the None display list.Only the Glasses frame elements are displayed.
-
Hover over the rows of the hidden frames.
The elements belonging to the frames prehighlight.

-
Click the "Wheels" frame.
The frame is set to Active
 and its elements are displayed.
- Optional:
Switch the Play
 /Pause
 mode to define the update behavior when sculpting the elements.
- Elements belonging to frames that are set to Play
 mode are immediately updated (through
Adapt or Rebuild in the Soft
Parametrics section). Continuity conditions restore.
 - Elements belonging to frames that are set to Pause
 mode are not updated. Sculpting is faster and more precise.
- Elements belonging to frames that are set to Play