Defining the Working Zone

You can define an area on a surface before performing a modification.

Selected vertices, edges or faces appear in the 3D area. Therefore only these elements can be modified. The other elements are protected and cannot be modified.


Before you begin: Create a 3D shape containing a subdivision surface.
See Also
Selecting Elements by Type
Propagating
Accessing Transformation Commands
  1. From the Shape Sculpt section of the action bar, click Working Zone Definition .

    You can also access this command by pressing ALT+SHIFT+V.

  2. Click the surface.
  3. Select one or more elements.


  4. To swap the selection of the selected elements, click Selection Inversion
    All protected elements become unprotected and vice-versa.

  5. Click Modification .
    Previously selected elements appear and the protected ones are hidden so that they cannot be selected. You can now work within a limited zone.
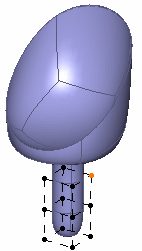
    The Tools Palette of the Modification command appears and shows the Working Zone Activation/Deactivation icon. It is active by default.

  6. Deform the surface using the Transformation commands.


  7. To reset the protection of selected elements, click Working Zone Activation/Deactivation .
    All cells are displayed and can be modified.

    Important:
    • A protected face or edge contains at least one protected vertex.
    • The working zone is only active during the session for each subdivision surface. Therefore, when you close a model and reopen it, all cells are visible again.