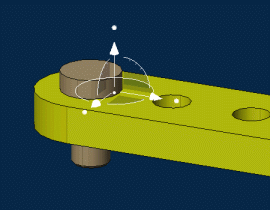
Take Advantage of Axes to Position Parts
You can select a cylindrical surface to take advantage of axes to snap 3D parts into position.
-
Select a cylindrical surface of the part you want to place.
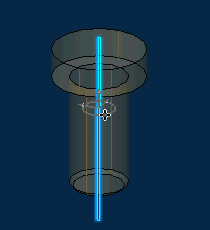
- Move the mouse pointer over a cylindrical surface of the second part.The part you want to place snaps to the second part.
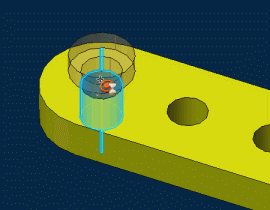
- Click when satisfied.The two parts snap together.
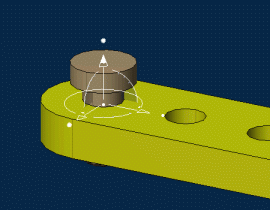
An engineering connection defining axis constraints is created and the corresponding constraint symbol is displayed. For more information, see Assembly Design User's Guide: Engineering Connections.
- Optional:
To edit the constraint you have just
created, click the constraint symbol and do one or more of the following:
- Select the constraint mode: driving
 , measured
 or controlled
 .
.
- Select the constraint orientation
for one or both 3D parts: undefined
 , same
 , opposite
 or parallel
 .
.
- Select
De-activate
 to de-activate the 3D constraint.
- For angle and distance constraints, change the value.
Tip: To show callouts identifying connected 3D parts and context toolbars when editing engineering connections, select Display in geometry area in . - Select the constraint mode: driving