Adding an Existing Shape | ||||||||
|
| |||||||
- In 2D graph, select the logical component to which you want to add a shape.Note: If you select a logical component that already has a 3D representation, the shape you are adding will be placed at the same location as the existing 3D representation.A context toolbar appears next to the logical component:
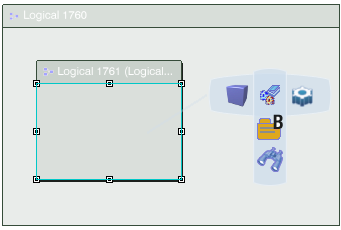
- In the context toolbar, select the shape you want to add:
-
To add a shape from a catalog, click Catalog
 .
.The Catalog Browser dialog box appears from which you can select the shape.
For more information, please see Design IP Classification User's Guide: Catalog Browser
- To add a shape from the database or session, click Search
 .
.The Object Selection dialog box appears with search From Search and From Session tabs. Search for and then select your shape.
For more information, see 3DEXPERIENCE Native Apps User's Guide: Using the Content Chooser
A context toolbar appears in the work area.
-
To add a shape from a catalog, click Catalog
-
Position the shape in the work area using one of the following placement modes:
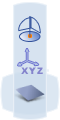
- To position the shape on a surface or point, click Select Surface or Point
 and then select a surface, point or edge in the work area.
 - To position the shape by giving coordinates, click XYZ coordinate
 , in the dialog box which appears enter your coordinates and then click OK.
 - To position the shape anywhere in the work area, click Selection on Compass Plane
 (Robot plane) and then select a position in the work area.
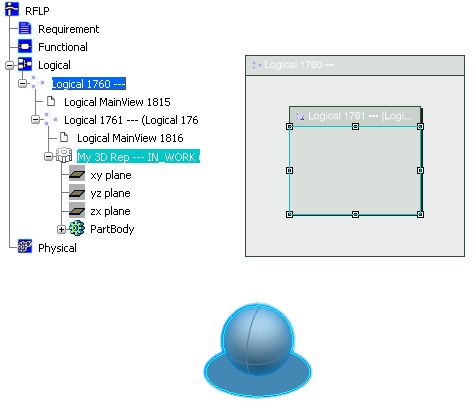
When you have clicked to position the shape:- In the 3D view, the shape appears.
- In the tree, the logical shape is added under the existing logical component.
In this example, a box is created.
- To position the shape on a surface or point, click Select Surface or Point