Inserting a Picture in a Table Cell

You can insert a picture directly in a table cell and perform various operations such as cropping the picture, editing the picture and so on.


Before you begin: Create a table.
See Also
About Inserting a Picture in a Table Cell
Modifying a Picture
  1. Double-click the table to switch it to the edition mode.
  2. Right-click a table cell and select Insert > Insert Picture.
  3. In the Insert Picture dialog box, browse to select an image file.

    You can insert a raster or a vector image in a table cell. For more information about supported image types, see About Inserting Images

  4. Click Open.
    The selected picture is inserted in the stretched mode to fit in the table cell.
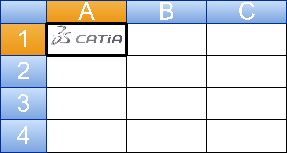


    Note: If the cell already contains a picture, it is replaced. If the cell contains a text, it is deleted. Also, you can use the Clear content contextual command to remove the cell content.

  5. Right-click the table cell and clear Stretch.
    The picture is displayed as per its original size in the non-stretched mode.

    Tips:
    • You can also edit the picture properties and clear the Stretch picture to fit cell size check box to display the picture in its original size.
    • You can select one or several table cells containing pictures and edit their picture properties or change their display mode from non-stretched to stretched and vice versa.