Crop a Picture
You can crop a picture inserted in a table cell or in a view to show only required part of it.
-
Right-click the picture and clear Stretch (if selected).
The picture is displayed in its original size.Note: If the picture is stretched to fit the table cell, you cannot crop it interactively using the handles, but you can crop the picture by right-clicking it and selecting Properties > Picture tab, and defining the desired Crop from values.
Important: A picture inserted in a view is always in its original size or in the non-stretched mode. You cannot stretch a picture inserted in a view. Therefore, in this case, you can directly right-click the picture and select Crop. -
Right-click the picture again and select Crop.
The cropping handles are displayed and the pointer shape changes depending upon its cropping position. For example, the pointer changes to
 when it is moved at the upper-left, upper-right, lower-left or lower-right corner positions.
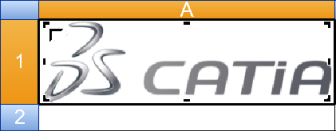
Handles enable resizing the crop extent. However, they cannot cross each other, and cannot extend beyond the original picture size.
- The four handles located on the corners of the picture can be moved in any direction.
- The four handles located on the borders of the picture can only be translated in a direction perpendicular to the respective borders.
-
Hold and drag one of the
handle to crop the picture in desired size.
Notes:
During the crop command:
- All the cropping handles are hidden.
- A frame showing the bounding box of the cropped picture is displayed.
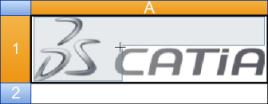
- You can move the picture by dragging.
-
Release the
handle when done.
The picture is displayed cropped as specified at the end of the manipulation, the frame is hidden, and the pointer is reset to its usual shape, depending on its location. All cropping handles are displayed again.
