Creating Annotations in Assembly Context | ||||||
|
| |||||
- Double-click the root product to activate it.
-
From
Product Edition section of the
action bar,
click Insert New Representation
 .
.
The New Content dialog box appears.
- Under the Physical Product Structure category, select the representation type to be created.
-
Click
OK in the
New Content dialog box.
The representation is added.
-
Double-click the created representation and activate the
2D Layout for 3D Design
app.
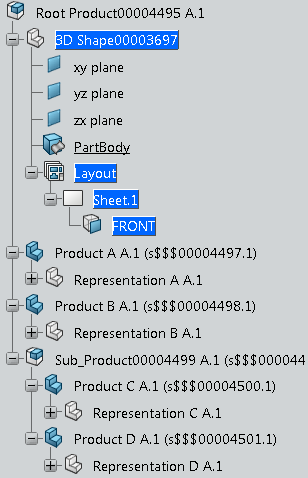
A layout is created.
-
Create a projection view in the newly created
layout.

-
Create a dimension between two parts (respectively
RepresentationA
and
RepresentationC
in
this example).
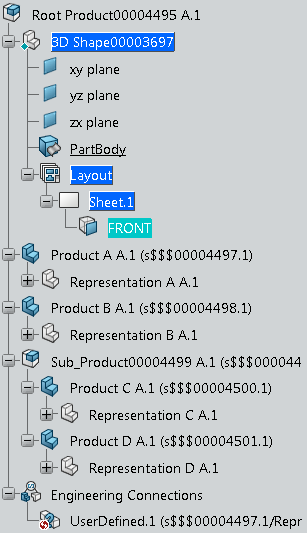
The dimension is created and the Engineering Connection node appears in the tree under the first parent product containing the active 3D shape representation. (Here the root product itself).

Important: - The green diamond as contextual symbol appears on the 3D shape representation icon in the
tree
 , indicating that the 3D shape is
involved in context minimal (that is, when the relation and the
two components belong to the same parent component) in the
assembly.
- The green diamond as contextual symbol appears on the 3D shape representation icon in the
tree
-
Right-click
the
UserDefined
 engineering connection and select
UserDefined.1 > Definition....
You are back in the previous product context app.
-
Right-click the same
UserDefined
 engineering connection again and select
UserDefined.1 > Definition....
-
In the Engineering Connection Definition dialog box,
select 3D Annotations
.
This section page displays the type and the name of all the 2D layout annotations and dimensions specification features of the edited engineering connection.
- In the Name column, the annotation name is
displayed.
Double-click the annotation name to rename it.
- In the Action column, the remove option is
available for each row.
The remove action is performed on all the selected rows.
- In the Name column, the annotation name is
displayed.
- Click OK.