-
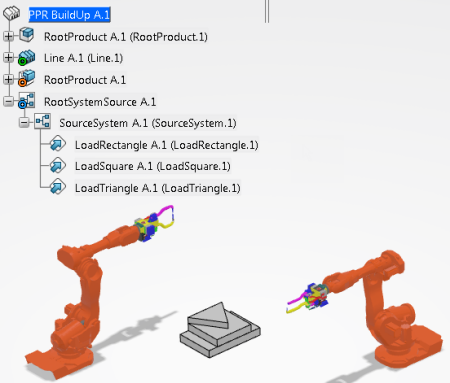
Open a PPR Context that has product, resource, item, and system structures, and
start Equipment Allocation.
-
In the tree, preselect the three operations, right-click them, and select
Operation Position > Define Position.
-
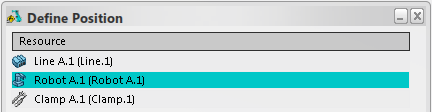
In the
Define Position dialog box that appears, select
the robot resource and click
OK.
-
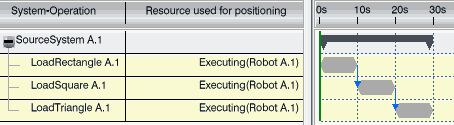
Select the source system in the tree and click Process
Gantt
 from the action bar. from the action bar.
The three operations have a position defined by the robot resource.
-
Right-click the "LoadTriangle" operation in the tree and select
Operation Position > Define Position.
-
Click
Product Build-Up Options
 at the right edge of the work area. at the right edge of the work area.
The Product Build-Up Options panel appears. For more
information, see Product Build-Up Options Panel. Note:
The Resources
Display build-up options can be used when defining or
copying a position to show all resources, show assigned resources only, or
hide all resources.
-
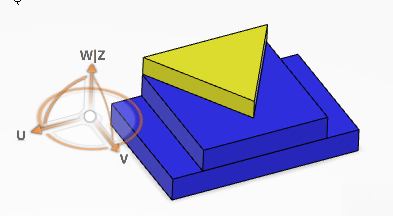
Select the
Current and
Previous in System check boxes.
The currently provided part is displayed in yellow. The previously assembled parts
are displayed in blue.
-
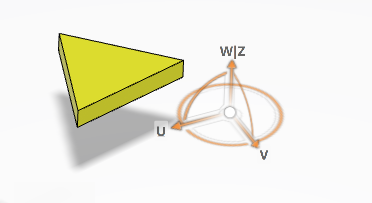
Click the
Hide
 button next to the
Previous in System option. button next to the
Previous in System option.
The currently provided part is displayed in yellow. The previously assembled parts
are hidden.
Note:
You can also define a position for a sytem, and
copy an operation or system position on an operation or system.
|
 > Preferences > App Preferences > Simulation > Digital Manufacturing Apps Common Services
. Note: You can also define a position for a sytem, and copy an operation or system position on an operation or system.
> Preferences > App Preferences > Simulation > Digital Manufacturing Apps Common Services
. Note: You can also define a position for a sytem, and copy an operation or system position on an operation or system.