Connect Symbols with the Connect Command
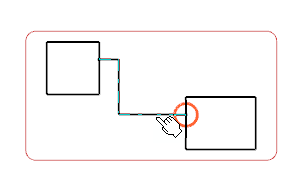
You can connect symbols in a diagram view.
Before you begin: Two symbols with ports are instantiated in a diagram view.
-
From the
Layout section of the action bar, click
Connect Symbols
 .
.
-
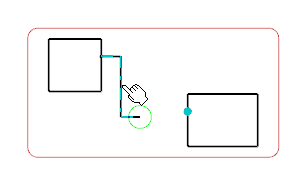
In the diagram view, click one of the following elements:
- A connection point on the first symbol (1)
- A symbol (2)
Note: If the Lock pins multiple representations is selected in Me > Preferences > App Preferences > 3D Modeling
> Systems Architecture > Electrical Sys. Design > Schematic, the Available Ports for Mapping
dialog box only displays pins which are not represented in a drawing.
For more information, see Native Apps Preferences
Guide: Schematic.
 -
Do one of the following actions according to your selection in
Step 2:
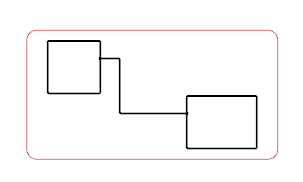
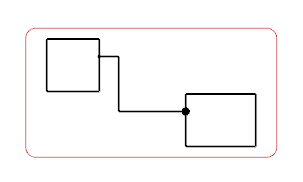
Action Done in Step 2 Action to be Done Result 1 Click a connection point on the second symbol. The two symbols are connected. The connection points are linked with a connection. 2 Select a port in the Port Mapping Available Ports for Mapping. 2 Click Graphical Connect on the context toolbar and select standalone connection point or component. Note: If a component is selected, an unmapped connection point is created at the selected position.A graphical connection is created between the connection points created on the first and second components. Notes:- If the
Allow new port creation on component during
routing process option is selected in
Me
 > Preferences > App Preferences > 3D Modeling
> Systems
Architecture > Functional & Logical
Design > Diagram View, components
without port cannot be selected. Only a graphical connection is possible.
For more information, see
Native Apps Preferences
Guide:
Diagram View
- If one of the symbols is an equipment, the other symbol is always the one to move.
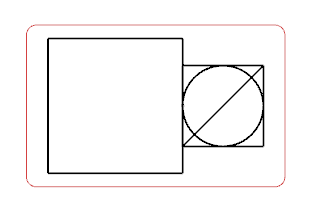
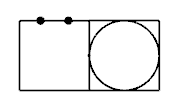
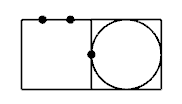
Note: When two symbols are connected, the second symbol can be rotated so the connection points of the two symbols have opposite directions. - If the
Allow new port creation on component during
routing process option is selected in
Me
For more information about port and connection point creation during a connection, see About Route Between Symbols.
