Creating a Product Variant

You can create product variants to show different variations of the same product. For example, you can create two versions of a car: a basic version and a sports version.

Important: Every single real-life part must have been defined as a single physical part in the inserted physical product in order to apply product, material or position variants to it.

This task shows you how to:


Before you begin: Insert a product in the experience. For more information, see Inserting a Product in the Experience.

Create a Product Variant on an Empty Product Line

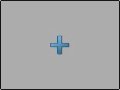
When a product line is empty, you use the plus button to create the first product variant.

  1. In the 3D area or in the tree available in the Project panel, select the part(s) or product(s) you want as an option for your variant.
  2. In the Variant panel, in the Product line area, click to create the first variant thumbnail.


  3. Optional: Rename the variant thumbnail if needed.

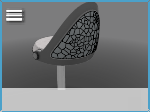
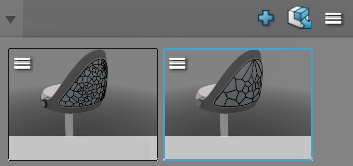
Your first product variant is created.

Add a Product Variant to a Product Line

You can add a product variant to a product line that already contains variants.

  1. In the 3D area or in the tree available in the Project panel, select the part or product you want as another option for your variant.

    Tip: You can also create a variant that does not display a particular part or product (for example, a convertible car without its roof top). In this case, rather than selecting an object, at this stage, make sure that the part or product is not selected.

  2. In the Variant panel, at the upper right of the Product line area, click .


  3. Optional: Rename the variant thumbnail if needed.
  4. Repeat the previous steps as many times as necessary.

Your other product variant is added to the product line.

You can showcase these and other variants in a stage variant. For more information, see Creating a Stage.