Creating and Applying Decals | |||||||
|
| ||||||
-
From the Rendering Scene Design section of the action bar, click Create and Apply Decal
 .
.
- Use the context toolbar to select the level at which you want to apply the decal.
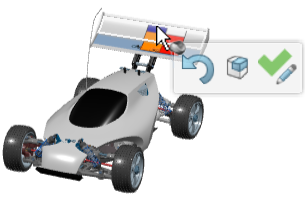
- Click either:
 to apply the decal.
 to open the Decal Appearance Domain dialog box and adjust some parameters, and then click OK.
The decal is applied on the selected geometry. It is attached to the root product, like a material, and is identified by the symbol.
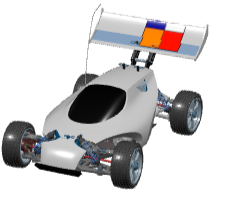
-
To adjust the decal scale and position afterward without opening the
Decal Appearance Domain dialog box, use the
3D Manipulator that can be displayed using one of the
following two methods:
- Click the decal in the tree.
- Double-click Material Appearance
 in the tree to open the 3D
Manipulator and the Material
Definition dialog box. Click Hide/Show 3D
Manipulator to switch the 3D
Manipulator display on or off.
in the tree to open the 3D
Manipulator and the Material
Definition dialog box. Click Hide/Show 3D
Manipulator to switch the 3D
Manipulator display on or off.For more information, see Using the 3D Manipulator.
