Use case - Standardization

The goal here is to eliminate all alternate parts by tagging which parts are standards, alternates or "not for use" in the universe.

This task shows you how to:

Create your universe

You can standardize your parts in OnePart Reduce as follows.

  1. Click Create Universe and enter a unique universe name.
    For example, dedup.
  2. Select the Standardization universe type.
  3. Click Define scope and then OK.
    For this example, you should use all the demo parts for the scope.
  4. Set the Clustering parameters for this universe.

    For this example, use the default parameters.

    1. Set the Strictness level.

      By default, the slider is set to « medium » for shape similarity strictness.

    2. Set the Sub-clustering by attributes.

      See also Set up Subclustering by attributes

    3. To use a custom taxonomy, you can upload your csv file just before building it.
      In Taxonomy used for Categorization, click Browse to select a file.

      See also Set up Taxonomy

    4. Click Run to perform the clustering.
      This compares all the parts of this universe and creates the clusters based on shape similarity and defined attributes. This typically takes 10s on 1000 parts, 1 minute on 10k parts.
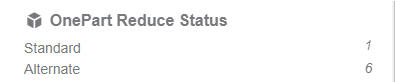
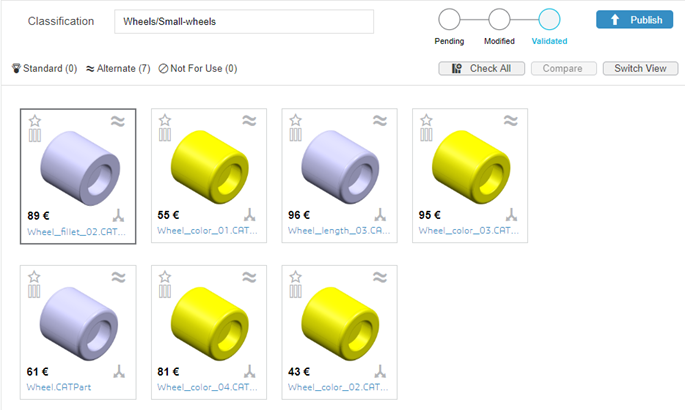
  5. The Cluster Dashboard displays statistics including the potential standard and alternate parts.
  6. Click the universe link to access the Universe Clusters Overview.

Analyze the clusters

The next step is to analyze the clusters. For details on this view, see Understanding the Universe Clusters Overview.

Context:

To display the Universe Clusters Overview, click on the universe link in the Cluster Dashboard.

  • In the left column:
    • Filter on cluster maturity and classification
    • Filter on cluster size
    • Enable warnings on modifications not published
    • Sort clusters
  • On the right:
    • the Universe clusters to analyze


Click one of the large clusters.
For our example, click the wheel cluster with 7 items.

Compare and qualify

Select the parts and compare the attributes to help you make the right part choice. For details, see Comparing parts.

  1. Standardize: Choose the parts that should be kept as standards; all the others should be tagged as alternates.
    The last part selected as a standard is used as the reference item and displays bold. The reference items is used for the 3D similarity comparison and is displayed as the main cluster part.
    1. Click to filter the parts displayed in the cluster.
    2. Double-click to tag part as standard.
      For example, tag the color_02 wheel as the standard part.

    3. You can also flag parts "Not for Use" by double-clicking .
  2. Classify: You can add classify the parts using the Classification field.
    Enter Classification/SubClassification to add a Classification and sub-Classification’s names. You can add as many sub-classifications as you want.
  3. If you are done with this cluster, click Validate.
  4. Click the universe link to go back to the Universe Clusters Overview.
  5. Hover over the Universe Status to see that there are 14 parts validated.

    The modified clusters display with a blue outline.
  6. When you are finished with this process, click Publish this universe in OnePart.
    This publishes the clusters with the status Validated; see Cluster Status.
  7. You can go back to the cluster to edit it if needed:
    1. Click Publish if you need to update the cluster.
    2. Click Unpublish if you need to unpublish the cluster.

Search for standards and alternates

After publishing, you can search for standards and alternates in OnePart.

  1. After publishing, click the OnePart home page to access OnePart.

  2. Perform a search in OnePart.
    For example, type “wheel”
  3. After publishing, use the filters to find the standard parts. Click to expand the filter panel and scroll down to OnePart Redice Status.
    For this example, we see the 6 parts defined as alternates and 1 standard part.

  4. Click Standard to display the standard parts.

    The part is flagged with the standard icon.
  5. Click on the wheel part to view the details.
    You can see the status of the part and directly edit the clusters in this page.