-
Select a scenario.
-
From the Execution
section of the action bar, click
Simulate and Generate Results
 . .
The Simulate and Generate Results dialog box appears. -
In the dialog box, click Preview.
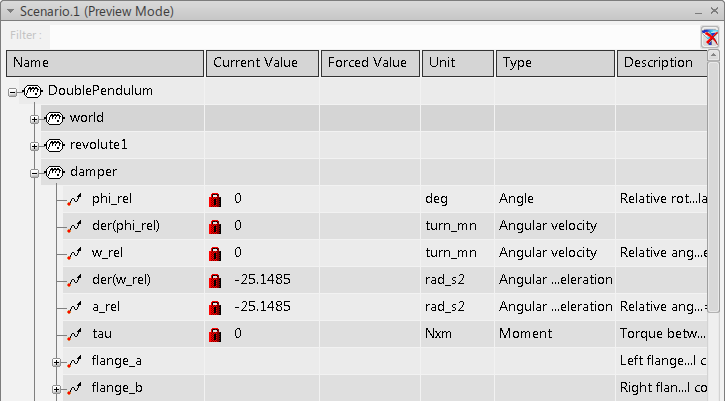
- The Scenario window appears.

Notes:
- You may have several Scenario windows open at the same time if you work with several scenarios.
- Only one scenario at the time can be in Preview mode, the corresponding Scenario window indicates Preview Mode in the header.
- For more information about using the Scenario window,
see Working with the Scenario Window.
- The Simulation Options dialog box, as a dialog box or minimized as an icon
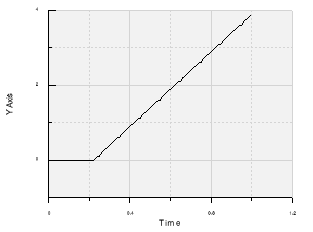
 to the right in the tab. to the right in the tab. - If a plot has been created in the scenario, the Plot window is displayed.

- The Experience Player appears. By default it is docked in the lower left corner, but it can be undocked by dragging.
- In the Simulation Options dialog box, set your preferences for the animation. See Managing Simulation Options Using the Simulation Options Dialog Box.
-
Use the controls on the Experience Player to animate
your mechanism or to step through the time increments. Values for any probes defined in the scenario are
displayed in the Scenario window.
-
When you are done previewing the simulation, close the
Experience Player.
It must be undocked to be able to close it.
Note:
The corresponding Scenario window is not closed, it changes mode to Edition mode.
|