-
From the
Operation section of the
action bar,
click
Break Panel
 . .
The
Break Plate dialog box appears.
-
In the
Plate box, select a panel.
You can select only one panel at a time to break.
-
In the
Splitting Object box, select an object to
split the panel.
The splitting object can be a plane, a curve, a surface, or
another panel. The splitting object must intersect the plate.
Notes:
- You can select multiple splitting objects.
- If only one splitting object is selected, then the name
of that object is displayed in the
Splitting Object box.
- If multiple objects are selected for splitting, then the
number of splitting elements is displayed in the
Splitting Object box.
- You must not select a multi-domain result as a splitting
element.
If selected, a proper error message is
displayed.
-
Click
OK.
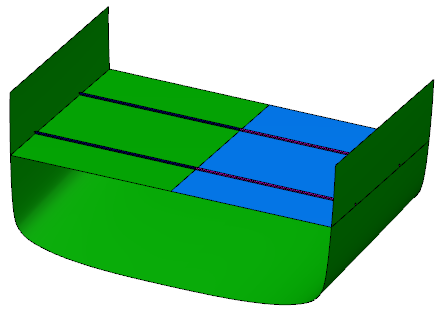
The panel is broken into multiple panels. You can edit the
geometry and material orientation of these panels individually.

Notes:
- If the stiffeners are attached to the panel, they are also
broken along with the panel.
- If a panel is a limiting element, after breaking it, the
limits for the impacted limited elements are updated. An appropriate limiting
element is selected from the split panels, the inputs are automatically
rerouted and the limiting element list is updated.
- If the limiting panel exist in another product, after
breaking it, you need to manually reroute the limits for the impacted element.
|
 .
The Break Plate dialog box appears.