-
From the
Operation section of the
action bar,
click
Seam Panel
 . .
The
Seam Plate dialog box appears.
-
In the
Plate box, select a panel.
-
In the
Splitting Object box, select an object to
split the panel.
You can select any number of splitting objects. The splitting
object can be a plane, a curve, a surface, or another panel. The splitting
object must intersect the plate.
- Optional:
Click
 to create a
sketch as the splitting object. to create a
sketch as the splitting object.

- If the panel is
planar, the sketch is created on the plane of the panel or
plate.
- If the panel is
non-planar, the sketch is projected on the panel.
-
Click
OK.
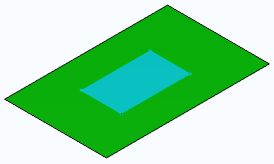
A seam is created on the panel. The panel is divided into plates. The largest plate
after seam operation replaces the original plate in the plate set and inherits
all its properties.
|