Attaching or Specifying Documents to a Textual Work Instruction

You can attach a document (example, a safety policy or an image) to a work instruction. If the document you want to use is not in the 3DEXPERIENCE platform, you can import it Then send documents to the shop floor. Two types of documents, a Document, and Engineering Document (VPM Document).

Views differ from attached documents in that the views are part of the work instructions whereas attached documents are separate.


Before you begin: Open the Instructions dialog box for a new or existing text instruction. The default option is the Engineering Document (VPM Document), change this to an (CBP) Document if required in Customizing Preferences Authoring, Document Creation.
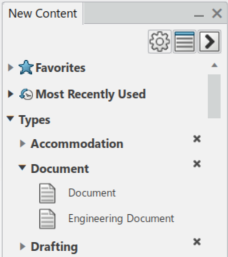
  1. If required, in New Content there are two types of documents that can be created in Document section.


  2. Select one of the Work Instructions text.


  3. Click Attach Document .
    The Search an object or Import file Press ESC to exit appears.
  4. Click Import a file.
    The File Selection dialog box appears. Set the correct file type, navigate to the file's location, and click Open.

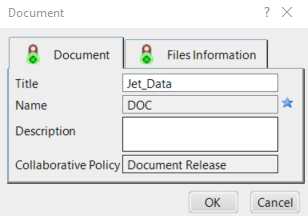
    In the Document / Document Customization dialog box, rename either the document or the database object (in the Name field).

    Depending on your selection in preferences;

    • The Engineering Document dialog box.

    • The Document dialog box.

    Note: You can select the From Search tab, if you want to attach a document that already has been in imported into the database. In that case, use the standard search methodology.
  5. Click OK.


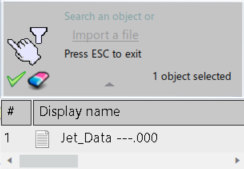
    The object is selected.
  6. Click Accept All .
    This attaches the document to the Instruction.
  7. Following the same procedure, attach some pictures.


  8. Click Attach Document .

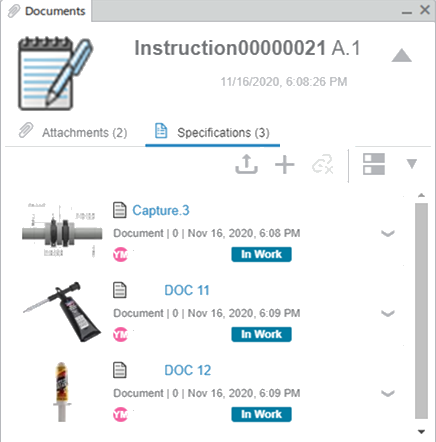
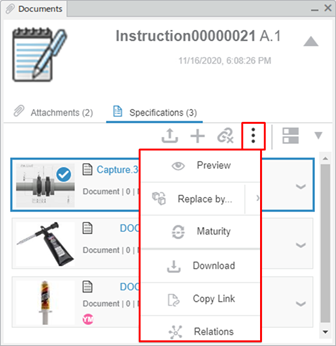
    Attach Document panel displays.

  9. Select an Instruction in the Textual Instructions panel or in the tree.

    A Panel refreshes to show Documents currently linked to the selected Instruction in two tabs (one for Attachments, the other for Specifications.

  10. Change tabs as needed.
  11. Link new documents or unlinks existing ones as needed
    A Panel is refreshed as documents are linked / unlinked.

    You can also select a document and perform some actions like downloading files of the document.

  12. Click Generate Documentation for Operation .
    We see the two pictures and the Jet_Data.txt in the documentation.

    For more information, see Formatting Generate Documentation Work Instructions.


Notes:

If you add an instruction with attachments into a catalog and reuse the instruction in another operation, the attachments remain associated with the instruction. However, if you copy and paste work instructions on the tree, that is, outside of the Work Instructions app, the attachments do not remain attached.

You can attach screen shots to work instructions using Capture Screenshot .

You can attach to a work instruction document that is coming from linked processes, process output, products, or resources. Open the work instruction to which you want to attach a document. Click Attach Document from Linked Object , and select the source of the document or documents from the dialog box. Click OK and the documents are attached.