-
Create a View if
required, or select existing.
This capability only improves the usability of the existing commands. It does not
change the underlying (data model) behavior. Example – no links create to the Context
objects.
-
In the Instruction Authoring section of the action bar,
click Snap
 . .
-
Click the object in the work area.
The Snap dialog box appears, which you can use to select
the type of movement you want an item to make. 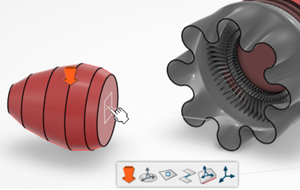 -
Use the Toggles between Global/Local mode to select the item.
The arrow turns red, then select the snapping area, select arrow again, and it
turns white and OK
 appears. 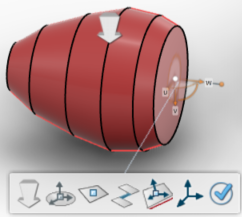
-
Select the area you want to snap to.
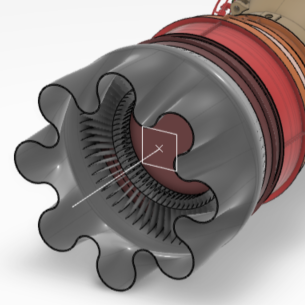 The object
snaps together. -
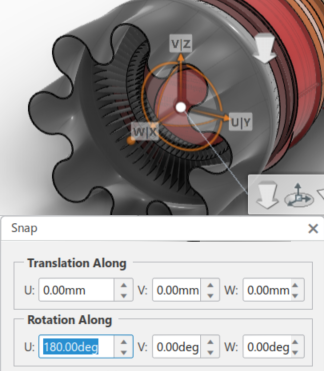
In the Snap Dialog box, Rotation Along
area, change the U degree to 180.00.
-
Click OK
and right-click the View and select
Update.
 You can
also use the Ruler with
Snap. -
Select Measure Between.
The Measure Between Dialog box
appears.
-
Select one object.
-
Select another object.
-
Click OK in the Measure Between Dialog
box.
-
Click on the Minimum distance box for the context menu.
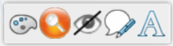
 Change the color of the measure. Change the color of the measure. Display/Hide the selections. Display/Hide the selections. Hide/Show the measure. Hide/Show the measure. Add comment on measure. Add comment on measure. Change the font style and size of the measure text. Change the font style and size of the measure text.
|