Experimenting with Controllers

During your design, you can declare some input parameters as controllers to manage their values separately.

Controllers are grouped in a dedicated tab to let you experiment with some specific parameters values that can affect your whole design.

The inputs that can be declared as controllers are the following:

  • Angle
  • Boolean
  • Color chooser
  • Color gradient
  • Curve editor
  • Function editor
  • Image
  • Integer
  • Length
  • Real
  • Random
  • String

This task shows you how to:

Declare and Edit a Controller

Before you begin: Edit an input parameter.
  1. In the operation dialog box, click Controller .
    • The icon is highlighted: .

    • In the Experiment tab, the input defined as controller appears.

    Tips:
    • In the tab, you can also click New Controller to create a node and define it as controller. Existing nodes that can be selected appear under the Existing nodes list.
    • The Controller command is also available on the context toolbar in the Graph Editor. See Context Bar.
    • In the Graph Editor, you can create regions to group your controllers. Regions always appear at the top level in the controllers' list. For more information, see Regions.
  2. In the tab, edit the value of your controller.
    Your design is updated instantly.

    The value is also updated simultaneously in the edition dialog box of the parameter and in the Graph Editor.

  3. To display additional commands and manage your controllers, click .
    • Select Move Up or Move Down to modify the order of controllers and regions within the tab.

      When you modify the order, changes are persisted in your model after using Save or Refresh.

    • Select Edit to modify the inputs of a controller in the operation dialog box.
    • Select Remove to withdraw a controller from the controllers' list.

Edit Controllers in Design Variants

You can experiment with your controllers by editing their values in design variants. This allows you to create and preview various configurations of your model.

Before you begin: Declare some inputs as controllers.
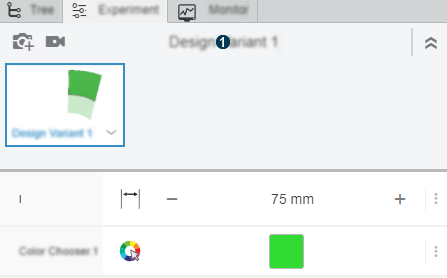
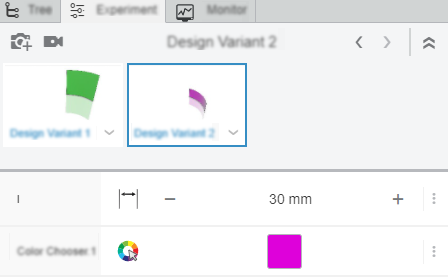
  1. In the Experiment tab, click New Design Variant .
    • A thumbnail appears. It displays your design in its current viewpoint in the 3D area.
    • The first design variant you create inherits the controllers' values specified in your initial design.

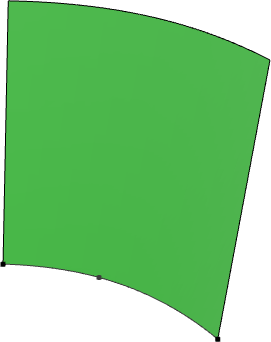
    Experiment Tab 3D Area

    Note: The name of a variant is defined by default. To modify it, click a variant () and enter a new name.
  2. Edit the values of your controllers and save them in a design variant:
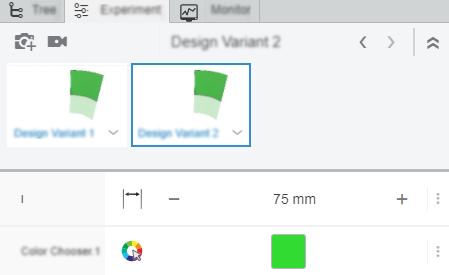
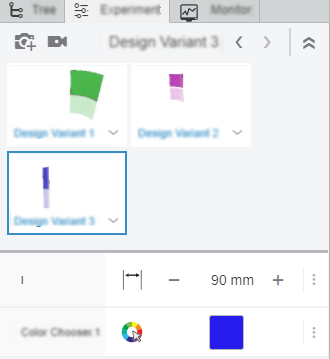
    1. Click a thumbnail to activate a design variant.
      The thumbnail is highlighted in blue which indicates that the design can be modified.

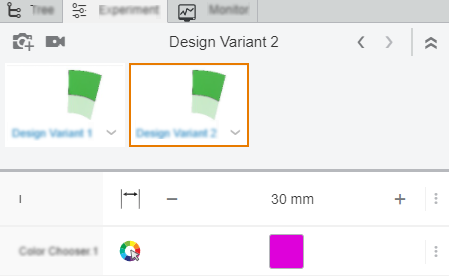
    2. In the Experiment tab, edit the values of your controllers.

      Note: You can also modify the orientation of the viewpoint in the 3D area.

      The thumbnail is now highlighted in orange which indicates that the design is modified.

    3. In the variant's menu , click Update .
      The thumbnail's preview is updated, reflecting the modifications of your parameters and viewpoint.

    Notes: From a variant's menu, you can also:
    • Restore the last saved values of the variant by clicking Reset
    • Remove the variant from your list by clicking Delete

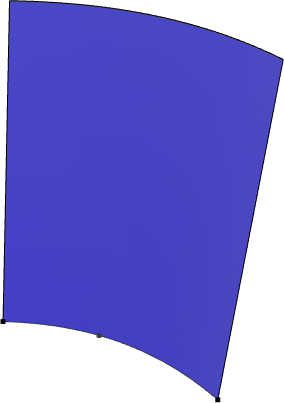
  3. To apply the configuration of a design variant to your model, click a thumbnail.
    In the 3D area, your geometry is updated accordingly.

    Experiment Tab 3D Area

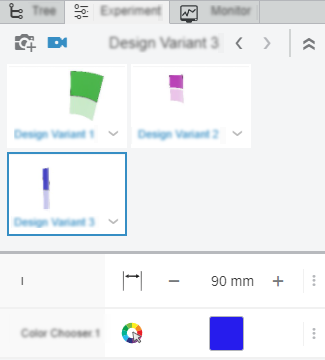
    Tip: The Variant Viewpoint option allows to automatically update the viewpoint of the 3D area according to the viewpoint defined in a variant.

    When this option is activated , your model is displayed in the 3D area according to the viewpoint defined in the selected variant:

    Experiment Tab 3D Area

    Notes:
    • When you click a variant to apply its configuration, your graph and the values of your monitored outputs are also updated.
    • You can click or to select and apply the previous or the next variant in your list.