-
From the Civil Engineering section of the action bar, click Platform Earthwork
 . .
-
Select a surface or a closed curve (highlighted in blue in the 3D area).
-
Select a polyhedral terrain.
-
To select a platform cross section containing predefined
excavation and filling profiles, do one of the following:
-
Select a platform cross section in the
Cross Section node in the
tree
when it is available in the same assembly. Or click
Search an object type
 . .
Only object types corresponding to the chosen discipline (which can be a platform, a
road, or a railway) and undefined object types are visible. The content
provided in the SubgradeTypicalCrossSections.3dxml stored in the
...\startup\Civil\Alignment directory has been
updated in R2022x GA to take the discipline into account.
-
Select a platform cross section in the list.
- Optional:
Sketch a new profile.
-
To remove the cross section, click
 . .
A platform cross section is created. The filling profile is blue and the
excavation is orange:
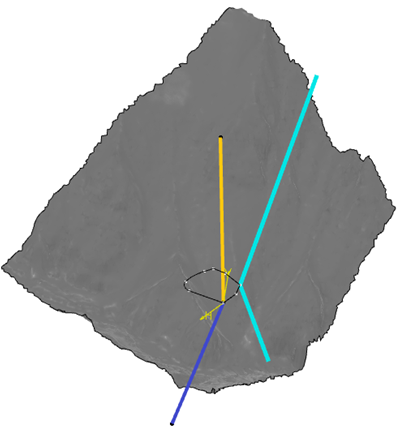
A light blue profile is also pasted at the beginning of the curve indicating
cross section scanning.
-
Optional: To display a preview of the selected object type in a
side panel, click Template Helper
 . .
A template viewer opens next to the Platform Earthwork dialog
box and displays the shape of the object type and axis systems. 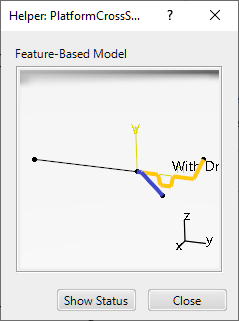 In the Helper, you can
move and zoom in the object type. Click again the same input and the object
type moves back to its initial position. To close the Helper, click
 or Close or or Close or  - Optional:
To modify the terrain and compute excavation or filling works, select the
following options:
If the terrain has not been selected, or if it is
selected but no stretch set has been selected, only a road, railway, or platform
stretch is created, without any modification of the terrain.
-
To visualize the excavation and filling profiles on the terrain in
the
3D area,
click
Preview.
-
Click
OK.
The filling profile is blue and the excavation is orange.

A new node called Earthwork containing
Platform Stretch Set is created in the tree. Platform Stretch Set includes the following
items:
- Modified terrain
- Excavation works
- Filling works
- Platform
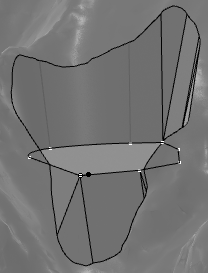
If you hide the excavation and filling works, and the platform, you can
visualize the new shape of the terrain:
- Optional:
To modify the terrain and compute excavation or filling works, select the
following options if:
- When the terrain has not been selected, or when it is selected but
no stretch set has been selected, only a road, railway, or platform
stretch is created, without any modification of the terrain.
- When the terrain and stretch set have been selected:
- And when the stretch set does not exist, then a new stretch
set is created.
- Otherwise, the road, railway, or platform stretch is moved
to the existing stretch set.
- If the Create modified terrain option
is not selected, the terrain is modified. If not, it is
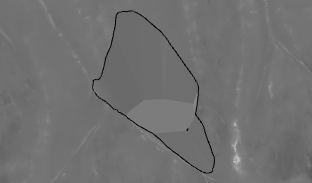
deactivated. By default, the with excavations and
fillings option is selected and you can see
these modifications encrusted on the terrain:
- To modify the terrain and take only earthwork excavation
stretches into account in terrain modification, click
with excavations: filling
stretches are ignored. To modify the terrain and take only
earthwork filling stretches into account in terrain
modification, click with fillings:
excavation stretches are ignored and consequently excavation
works are not computed.
- To remove the excavations and fillings from the modified
terrain, click the without excavations and
fillings option:
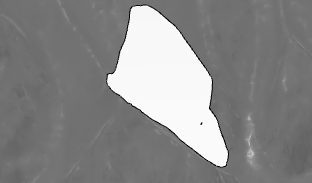
- If you click with only excavations and
fillings, the modified terrain contains only
excavations and fillings:
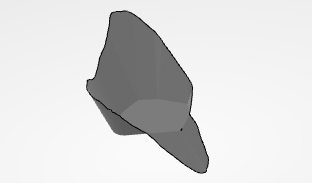
- If the Create excavation and filling
works option is selected, they are created
(filling profile in blue and excavation in orange), or
modified if they have already been created. If not, they are
deactivated.
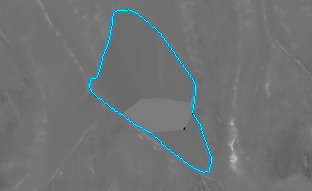
- If the Create modified terrain option is
selected, the boundary of excavations and fillings is generated
under the Stretch Set in the tree. If you select the boundary in the tree, it is highlighted in the 3D area:
- Optional:
To extrapolate the last section of the cross section profile to the terrain,
select the Extrapolate cross section to terrain option.
By default, this option is selected.
- Optional:
From the Civil Engineering section of the action bar, click BIM
Attributes
 and select the Excavation or Filling works in the tree to read the excavation and filling volumes
(in the Bank volume box). and select the Excavation or Filling works in the tree to read the excavation and filling volumes
(in the Bank volume box).
-
To edit the cross section, select Platform Stretch Set
in the tree and click
 under the
Platform Cross Section area in the
Platform Earthwork dialog box. under the
Platform Cross Section area in the
Platform Earthwork dialog box.
For more information, see Creating a Platform Cross Section and Associated Object Types.
The Platform Cross Section Sketcher
opens and lets you edit the excavation and filling profiles. Two green lines are
displayed on the modified terrain corresponding to the current profile of the
cross section.
-
To create a new cross section, you need to generate only one
profile on the right side of the platform.
For more information, see Creating a Platform Cross Section and Associated Object Types.
|